You do not need a professional studio to create clean, convincing product photos. A bright room, a simple background, a stable phone or camera, and a repeatable setup can produce images suitable for ecommerce stores, marketplaces, social media, catalogs, and advertisements.
The goal is not to make every image dramatic. Strong product photography helps customers understand the item quickly. The product should look accurate, well lit, properly scaled, and easy to inspect.
This guide explains how to take professional product photos at home, including equipment, lighting, backgrounds, camera settings, composition, styling, common mistakes, editing, and ways to create consistent images across an entire product catalog.
What You Need for Product Photography at Home
A basic home product photography setup can be built with items you may already own. You need a camera or smartphone, a stable support, a light source, a background, and something that can reflect or soften light.
Basic Equipment Checklist
A practical setup includes a smartphone or camera, tripod, table, white or neutral paper background, window or diffused lamp, white foam board, cleaning cloth, tape, and small supports for positioning products.
Can You Use a Phone for Product Photography?
Yes. Modern smartphones can create high-quality product images when the lighting is good and the camera remains stable. For small ecommerce images, lighting and composition usually matter more than owning an expensive camera.
Use the main rear camera rather than the front camera. Clean the lens before shooting. Avoid digital zoom because it reduces image quality. Move the phone physically closer or use the optical lens option when available.
Turn on the camera grid to keep products level and centered. Tap the product to focus and adjust exposure so bright packaging does not lose detail.
Choose the Best Room
Work in a room where you can control the light and leave the setup in place long enough to photograph several products. A space near a large window is often the easiest option.
Avoid rooms with strongly colored walls because the color can reflect onto white, metallic, glossy, or transparent products. Neutral surroundings make color correction easier.
Build a Simple Home Studio
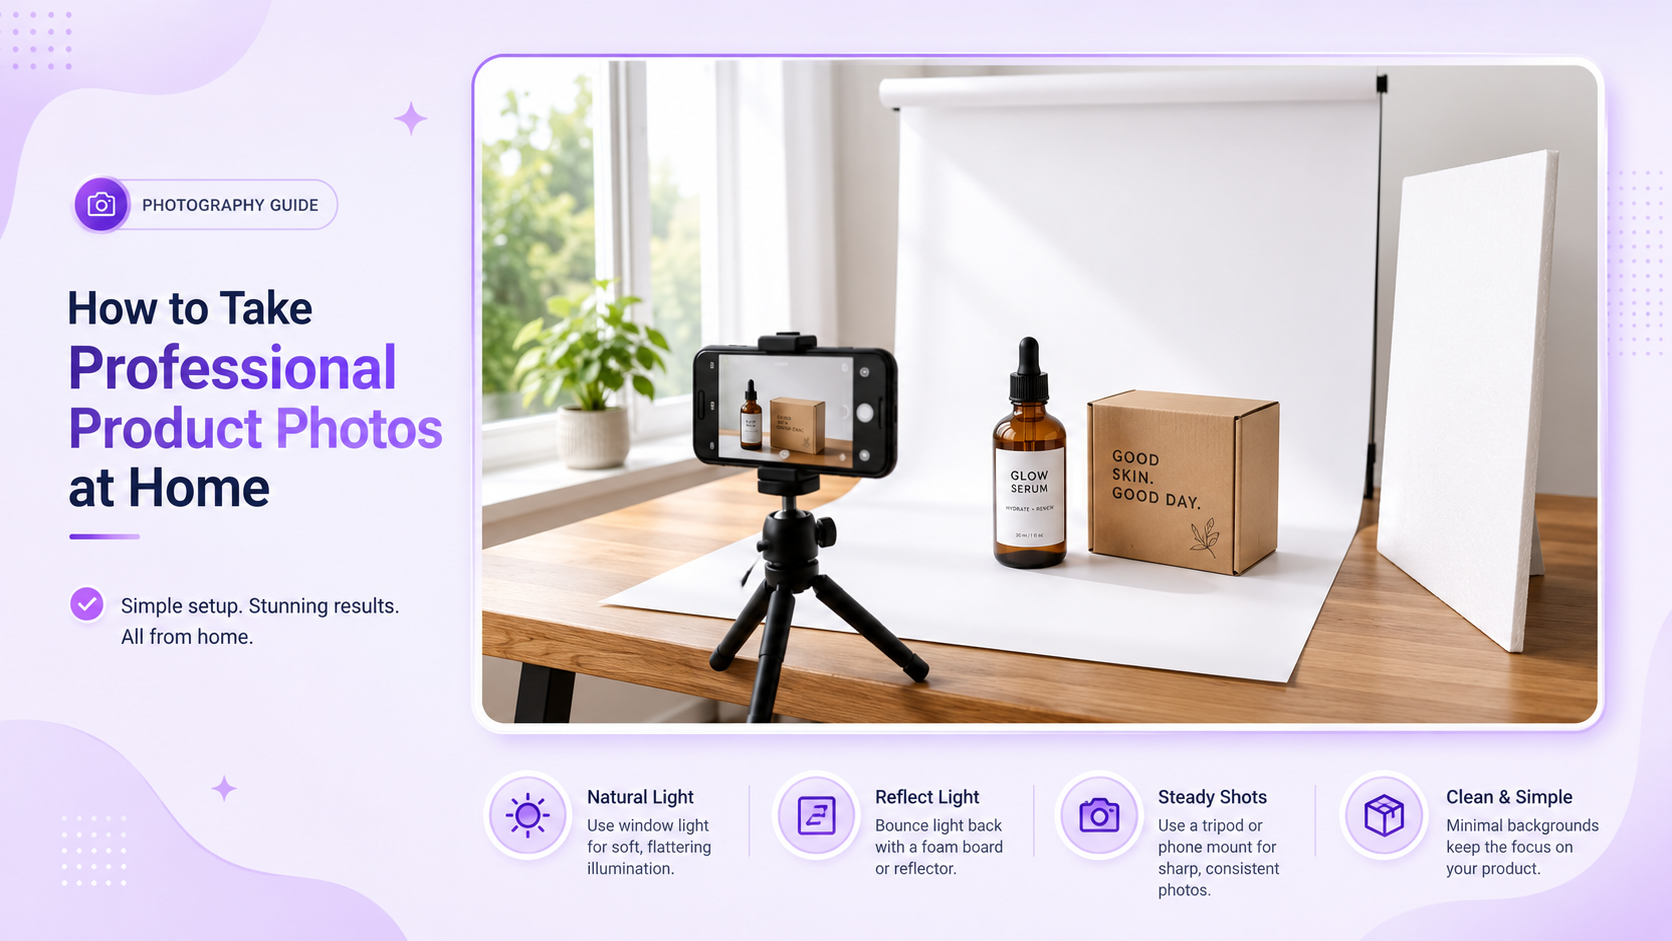
Place a table near a window, but not in direct sunlight. Attach white paper or poster board to the wall and let it curve gently onto the table. This creates a seamless background without a visible corner.
Place the product several centimeters in front of the curved background. This creates separation and helps the background remain smoother.
Set the camera on a tripod directly in front of the product. Position white foam board on the opposite side of the window to reflect light into the darker side.

Use Soft Natural Light
Soft window light is one of the easiest ways to photograph products at home. It creates smooth shadows and reveals shape without producing the harsh reflections of direct flash.
Place the product beside the window rather than directly facing it. Side lighting gives the object dimension and makes surfaces easier to read.
If sunlight is direct, soften it with a sheer curtain, tracing paper, diffusion fabric, or white shower curtain. Do not place flammable materials against hot lights.
Avoid Mixing Light Sources
Daylight and household bulbs often have different color temperatures. Mixing them may create blue light on one side of the product and yellow light on the other.
Turn off ceiling lights when using window light. If you use artificial lighting, block changing daylight or photograph after dark for more consistent results.
Using Artificial Light at Home
Artificial lighting is useful when you need to photograph at night or repeat the same setup over several days. Use a softbox, diffused LED light, or lamp shining through diffusion material.
Begin with one large light placed at approximately 45 degrees from the product and slightly above it. Add a white reflector on the opposite side.
Move the light closer to create softer shadows. A light source appears larger relative to the product when it is closer, which produces smoother transitions.
Choose the Right Background
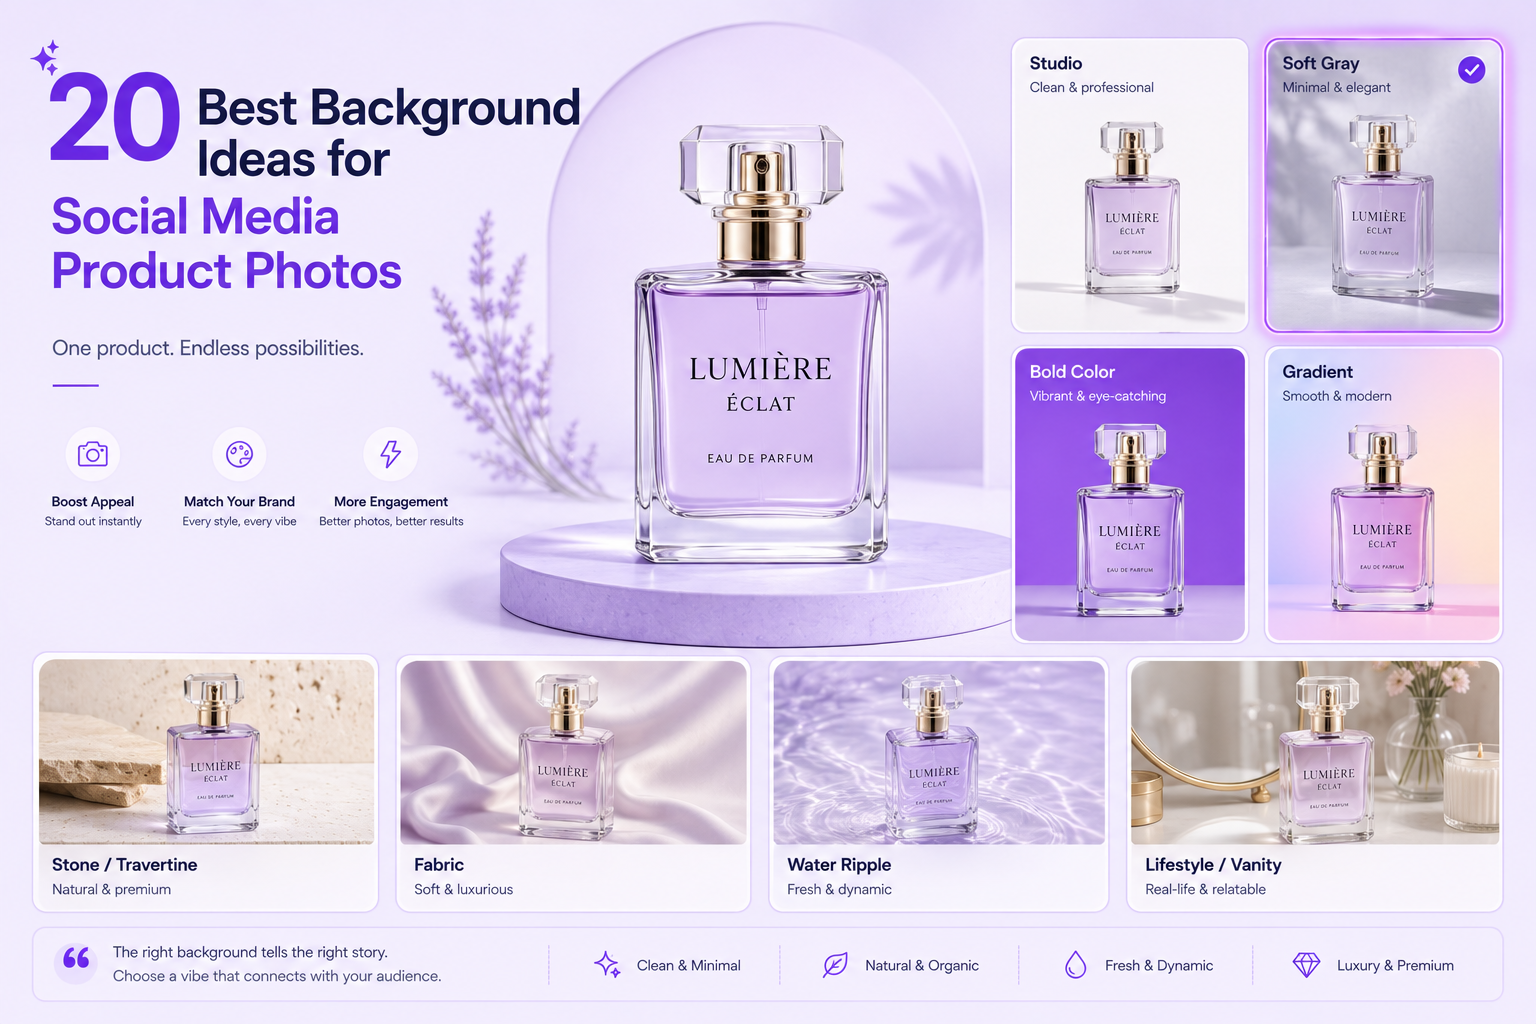
White and light-gray backgrounds are useful for ecommerce because they keep attention on the product and work across many store designs.
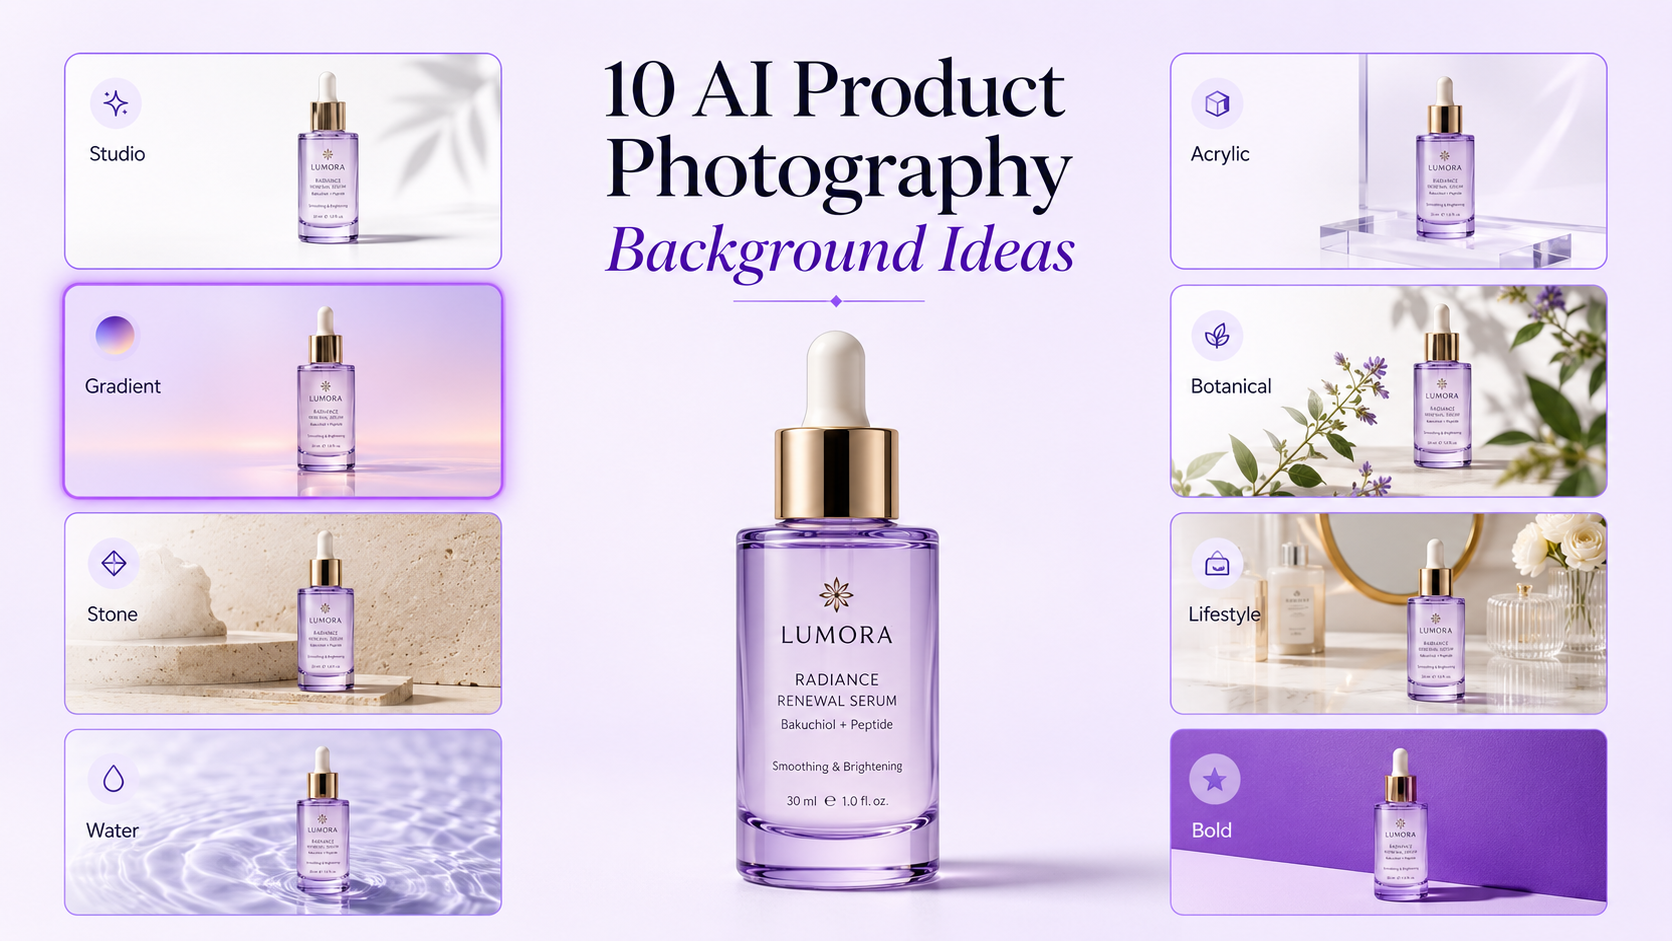
Neutral beige, pale stone, natural wood, dark gray, or brand colors can be used for lifestyle images and advertisements. The background should create enough contrast for the product edges to remain clear.
Avoid wrinkled fabric, dirty surfaces, visible tape, wall corners, and distracting household objects unless they are deliberately part of a lifestyle scene.
White Background Product Photos
Use clean paper, poster board, vinyl, or seamless photography paper. Expose the image for the product rather than making the background so bright that product edges disappear.
Lifestyle Product Backgrounds
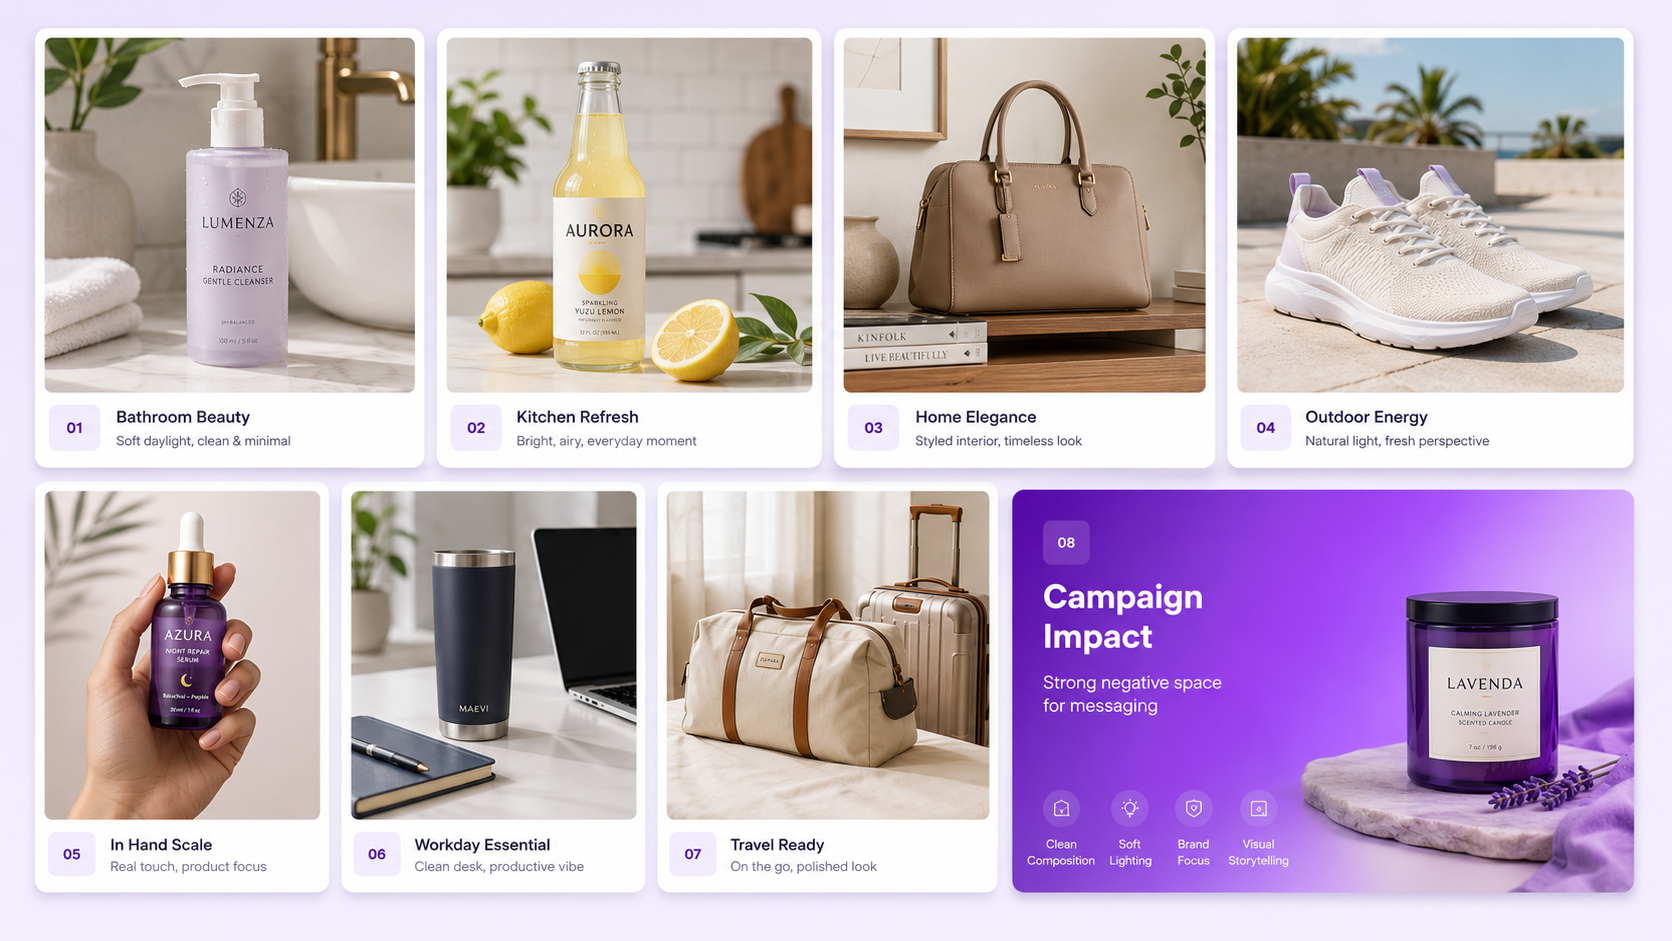
Lifestyle backgrounds show the product in a believable environment. Skincare may appear in a bathroom, candles in a living room, kitchen tools on a countertop, and accessories in a wardrobe scene.
Keep the scene controlled. Every object should support scale, use, audience, or brand mood. Remove unrelated clutter.
Prepare the Product Before Shooting
Product photography reveals dust, fingerprints, scratches, fabric lint, uneven labels, packaging damage, and small surface marks.
Clean the item carefully. Straighten labels, close caps, remove protective film, steam clothing, polish reflective materials, and check that moving parts are positioned correctly.
Use gloves or a clean cloth when handling glossy, metallic, glass, or dark products. Fingerprints can become highly visible under directional light.
Position the Product Carefully
The product should appear stable and intentional. Use removable adhesive, clear supports, fishing line, foam, clips, or small blocks when necessary, then remove visible supports during editing.
Check whether the product is level from the camera's viewpoint. Bottles, boxes, jewelry, and electronics often look incorrect when only slightly tilted.
Choose the Right Product Photography Angles
Different angles answer different customer questions. Most products need more than one image.
Front View
Use a front view for labels, packaging, artwork, controls, and overall identification. Keep the camera level to avoid distorted vertical lines.
Three-Quarter View
A three-quarter angle shows the front and side simultaneously. It gives boxes, bottles, electronics, bags, shoes, and furniture more dimension.
Side and Back Views
Use side and back views to show depth, closures, ports, instructions, pockets, ingredients, or design details that are not visible from the front.
Overhead View
Overhead photography works well for flat lays, jewelry, stationery, clothing, food packages, cosmetics, and product bundles.
Close-Up Detail
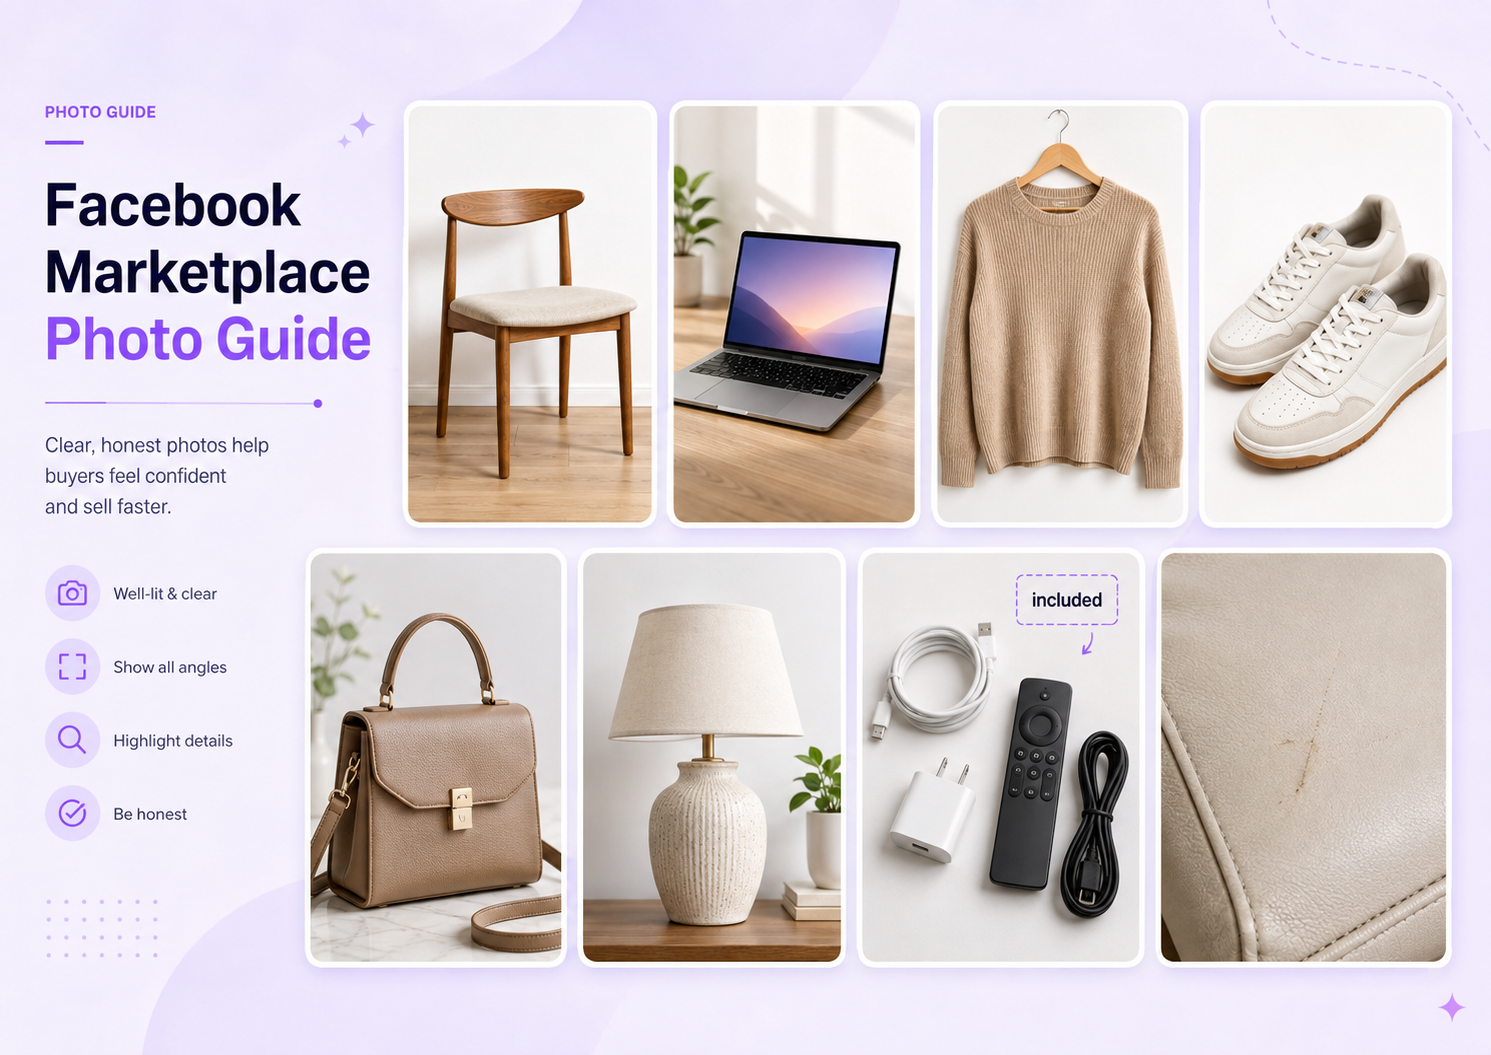
Use close-ups to show texture, material, stitching, buttons, labels, finishes, ingredients, controls, or craftsmanship. The detail should answer a real purchasing question.

Keep the Camera Stable
A tripod improves sharpness and consistency. It also allows you to keep the same composition while changing products.
Use a remote shutter, timer, or voice command to avoid moving the camera when taking the photo. For cameras, a slower shutter speed is acceptable when the product and camera are both stationary.
Mark the tripod and product positions with small pieces of tape. This helps maintain identical framing across a product catalog.
Recommended Camera Settings
Use a low ISO whenever possible to reduce noise and preserve detail. For a camera on a tripod, ISO 100 or 200 is a useful starting point.
Choose an aperture that keeps the important parts of the product sharp. Around f/8 to f/11 is common for many studio product images, though the best setting depends on sensor size, lens, and product depth.
Adjust shutter speed after setting ISO and aperture. With a tripod and a stationary product, slower shutter speeds can provide correct exposure without raising ISO.
Set white balance consistently. Auto white balance may shift between images, so use a fixed preset or custom white balance for catalog work.
Product Photography with a Smartphone
Lock focus and exposure when your camera app allows it. This prevents brightness from changing between images as the product color changes.
Use the standard lens for most products. Ultra-wide lenses can distort edges and proportions, especially when used close to the subject.
Do not use portrait mode unless you intentionally want background blur. Artificial blur may cut into product edges, handles, jewelry, transparent materials, or packaging.
Compose for Ecommerce
Keep the product large enough to inspect while preserving consistent margins. Do not crop important edges, handles, accessories, or packaging.
Use the same placement, camera height, scale, and background across similar products. Consistent images make a store look more professional and easier to browse.
Leave additional negative space for banners, advertisements, and social posts that need text. Create separate crops rather than forcing one composition into every channel.
How Many Product Photos Do You Need?
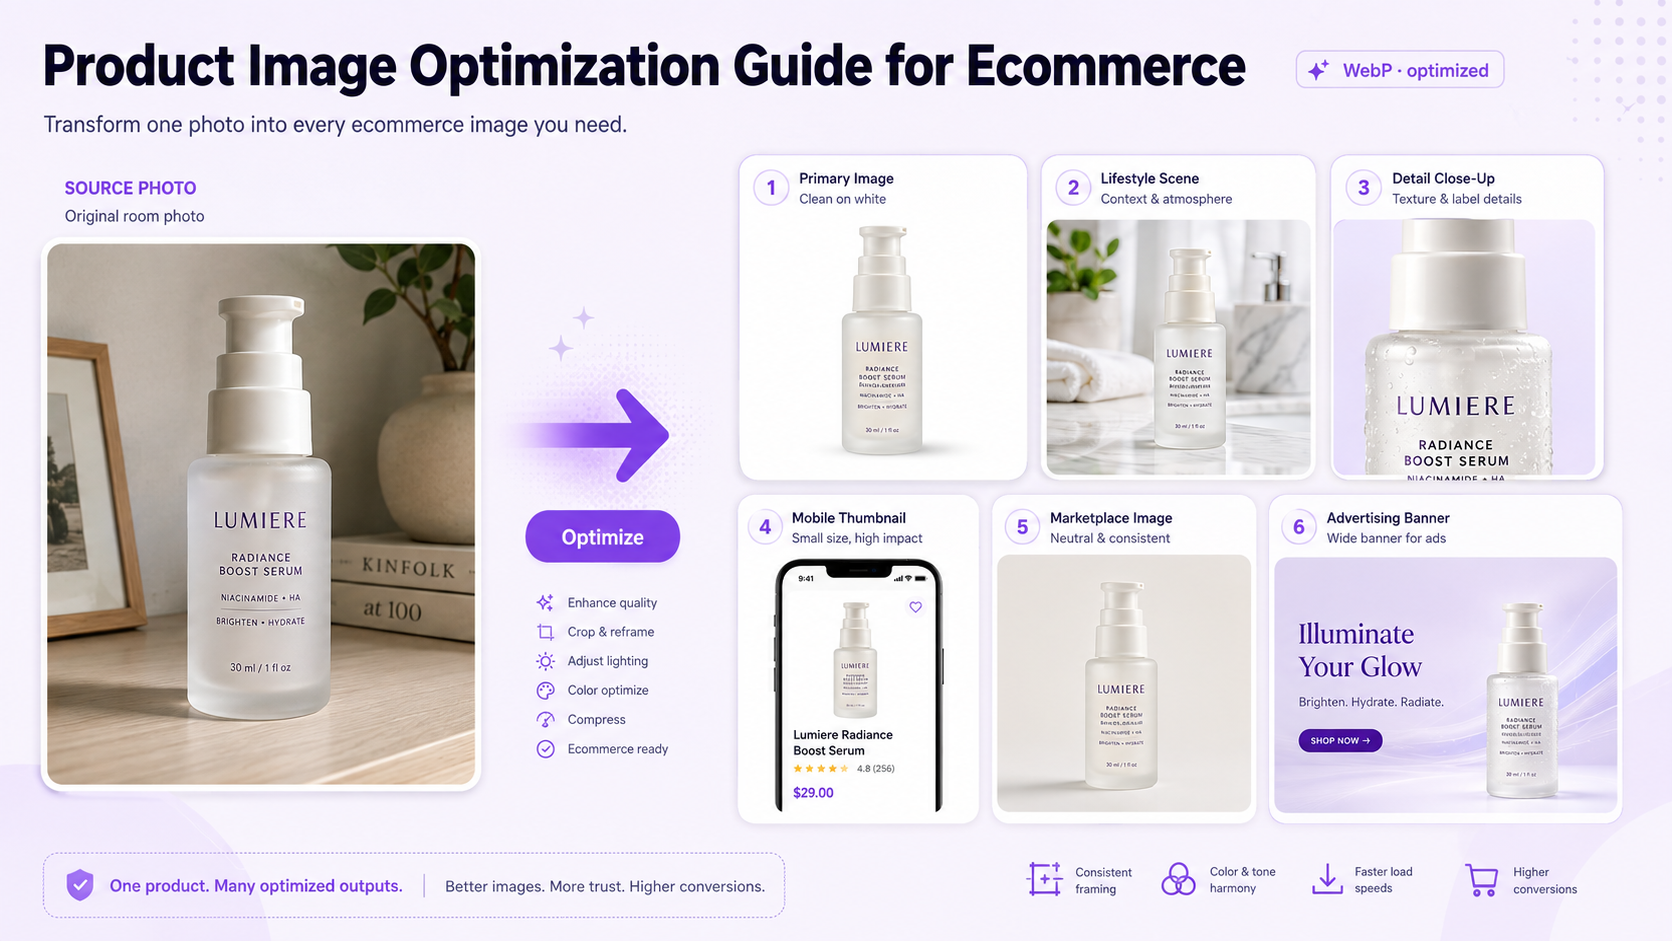
A simple item may need four to six images: main view, three-quarter view, side or back, close-up, scale reference, and lifestyle image.
Complex products may need more images to explain features, components, packaging, size, materials, and use.
Photograph Reflective and Transparent Products
Glass, metal, glossy packaging, jewelry, and transparent plastic reflect the room, camera, photographer, and light source.
Use large white diffusion panels around the product to create smooth reflections. Move dark objects away from the set unless you want them reflected.
For glass, use side or back lighting to define edges. A darker card placed outside the frame can create a controlled dark reflection that separates transparent edges from a light background.
Photograph Clothing and Fabric
Steam or iron the item before photographing it. Align seams, sleeves, collars, pockets, and hems.
Use flat lay, hanger, model, mannequin, or ghost-mannequin presentation depending on the product and store. Keep garment color and proportions accurate.
Side lighting can reveal fabric texture, but strong shadows may make the garment look uneven. Use broad diffusion and careful shaping.
Photograph Small Products and Jewelry
Small products require precise focus, clean surfaces, and controlled reflections. Use a tripod and move the camera rather than relying on digital zoom.
For jewelry, check metal color, stone setting, clasp, scale, and fine details. Dust and fingerprints become highly visible in close-up images.
Use focus stacking or several focus points when the product is too deep to remain sharp in one frame, if your workflow supports it.
Create Lifestyle Product Photos at Home
Lifestyle images show how the product fits into a real environment. Build a small controlled scene rather than photographing an entire room.
Choose two or three supporting elements, a coordinated surface, and a background with enough depth. Keep the product as the strongest visual element.
Edit Product Photos Consistently
Begin with exposure, white balance, crop, alignment, and perspective. Then remove dust, minor scratches, visible supports, and background distractions.
Protect the real product color. Excessive saturation, contrast, whitening, or smoothing may make the image more dramatic but less accurate.
Use the same editing settings across similar products, then make small corrections for individual colors and materials.
Using AI for Home Product Photography
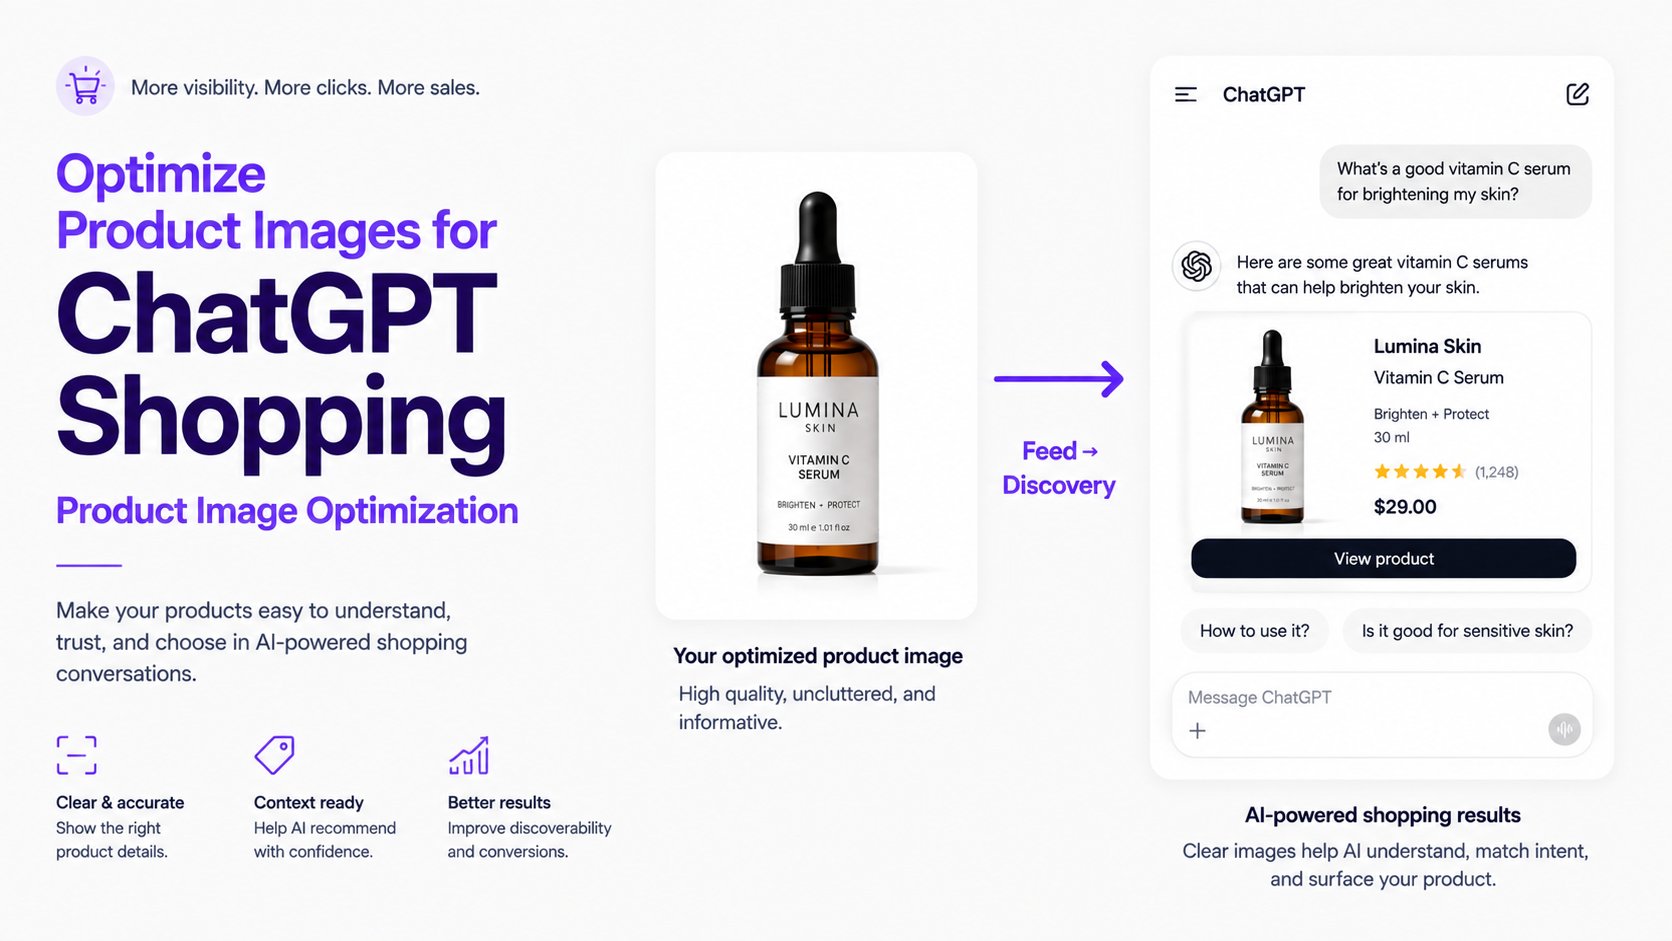
AI can help replace backgrounds, improve lighting, remove distractions, expand the canvas, create lifestyle scenes, and produce campaign variations from a real product photo.
Use the original product as a reference and clearly protect its shape, label, logo, material, color, packaging, proportions, and functional details.
Review generated text, logos, labels, reflections, transparent edges, jewelry details, clothing patterns, and product dimensions before publishing.
Create a Repeatable Product Photography Workflow
Consistency is easier when you document the setup. Record the distance between the camera and table, light position, background, camera height, focal length, exposure, product placement, and editing settings.
Common Home Product Photography Mistakes
The first mistake is using weak or mixed lighting. Correct lighting before adding more props or buying more equipment.
The second is shooting handheld. Small movement reduces sharpness and makes catalog images inconsistent.
The third is using cluttered backgrounds that compete with the product.
The fourth is ignoring dust, fingerprints, wrinkles, labels, and alignment before shooting.
The fifth is editing each image differently. A professional catalog needs a consistent background, crop, color treatment, and scale.
The sixth is allowing AI or heavy retouching to change the actual product.
Home Product Photography Checklist
Before shooting, clean the product and lens, prepare the background, stabilize the camera, control the lighting, and remove unrelated objects from the scene.
Capture the front, three-quarter, side, back, overhead, and detail views that are relevant to the item.
Before exporting, check color accuracy, label readability, edges, reflections, shadows, scale, alignment, and consistency with the rest of the catalog.
Export separate sizes and aspect ratios for product pages, marketplaces, social media, advertisements, and banners.
Final Recommendation
Professional product photography at home depends more on control and consistency than expensive equipment. Use soft light, a stable camera, a clean background, accurate color, and a repeatable composition.
Start with clear ecommerce images that explain the product. Add close-ups, alternative angles, scale references, and lifestyle photos only when they provide useful purchasing information.
AI product photography tools can extend a simple home shoot into multiple commercial variations. Upload a real product photo, choose a professional template, and create ecommerce, lifestyle, social, advertising, and marketplace images while keeping the product recognizable.
FAQ
Can I take professional product photos at home?
Yes. A clean background, soft light, stable camera, careful product preparation, and consistent editing can produce professional ecommerce images at home.
Can I use a phone for product photography?
Yes. Use the main rear camera, clean the lens, avoid digital zoom, stabilize the phone, and photograph in controlled lighting.
What lighting is best for home product photography?
Soft window light or one large diffused artificial light is a reliable starting point. Use a white reflector to soften the darker side.
What background should I use for product photos?
White and light gray work well for ecommerce. Neutral stone, wood, beige, dark gray, or brand colors can support lifestyle and advertising images.
How many product photos should an ecommerce listing have?
Many products benefit from four to six useful images, including a main view, alternative angles, detail photos, scale reference, and a lifestyle image.
How do I make product photos consistent?
Keep the camera position, product placement, lighting, background, crop, margins, white balance, and editing settings consistent.
Can AI improve product photos taken at home?
Yes. AI can improve backgrounds, lighting, composition, canvas size, and lifestyle presentation while using the real product as a reference.
Does GenImagePro require professional equipment?
No. Users can upload a clear product photo taken with a phone or camera and apply ready-made templates for different commercial styles.