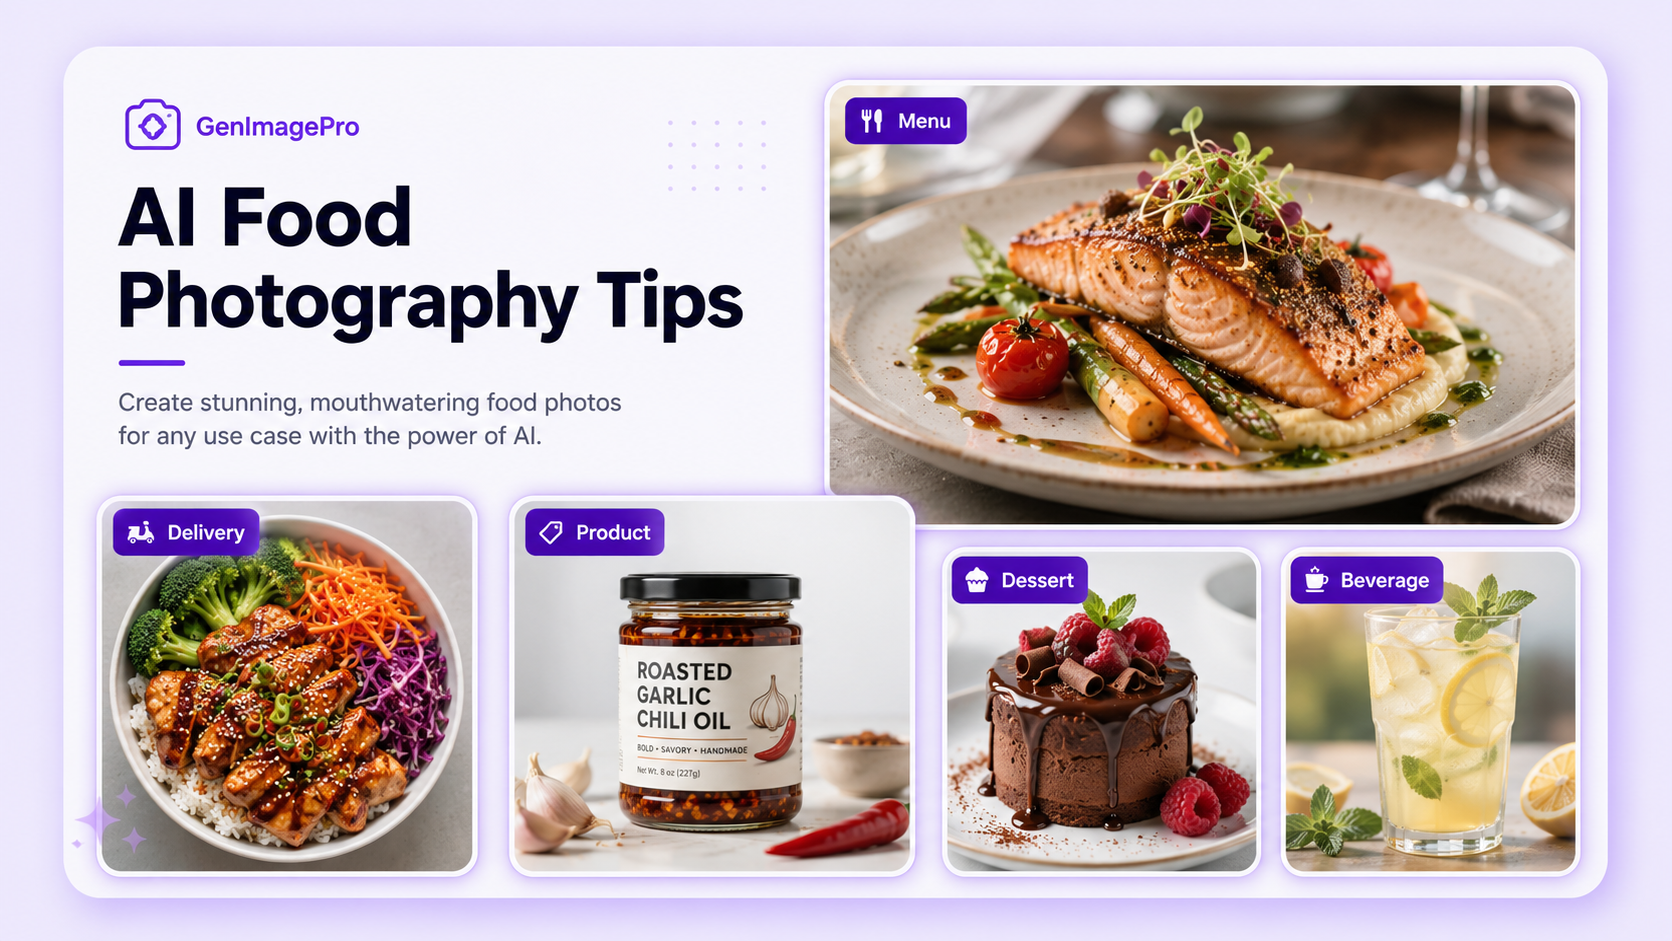
AI food photography can turn an ordinary dish photo into a cleaner, brighter, and more consistent image for restaurant menus, delivery apps, ecommerce stores, advertisements, and social media. The strongest results still begin with a clear photo of the real food.
Artificial intelligence can improve the background, balance lighting, refine color, remove distractions, adjust composition, create platform-specific crops, and place packaged food products in more polished commercial scenes. It should enhance presentation without changing what the customer will actually receive.
Food images are unusually sensitive to small mistakes. Artificial textures, invented ingredients, excessive gloss, incorrect portion sizes, or unnatural color can make a dish look less believable. The goal is not to make every image dramatic. The goal is to make the food look fresh, recognizable, appetizing, and appropriate for its sales channel.
The following AI food photography tips cover the complete workflow: taking a better source photo, choosing lighting and angles, using AI responsibly, writing stronger instructions, preserving the real dish, and creating consistent images across menus and campaigns.
What Is AI Food Photography?
AI food photography uses generative image tools or AI photo editors to create, transform, or improve food images. A restaurant may upload a basic phone photo and create a cleaner menu-ready version. A packaged food brand may place the real product in a lifestyle scene. A delivery platform may standardize thousands of merchant images to a consistent format.
The workflow can include background replacement, relighting, color correction, object removal, image enhancement, composition changes, resizing, or image-to-image generation. Some tools begin with a written prompt, while others use a real dish or product photo as a reference.
For restaurants and food sellers, starting from the real dish is generally the safer approach. It helps preserve the ingredients, portion, plating, packaging, and product identity that customers expect to receive.
18 AI Food Photography Tips
1. Begin with the Real Dish or Product
Use a real food photo as the source whenever the image represents something customers can order. This gives the AI accurate information about the ingredients, portion size, plating, container, packaging, and overall appearance.
A completely generated food image may look impressive while showing ingredients or quantities that do not exist in the actual item. Image-to-image editing is usually better suited to menu and delivery-app photography because the real dish remains the visual foundation.
2. Capture the Best Source Image You Can
AI is not a replacement for a readable source photo. Use the highest-resolution image available and make sure the dish is sharp, fully visible, and not blocked by hands, utensils, packaging, or strong reflections.
Clean the plate, container, table, and surrounding area before taking the photo. Small crumbs and stains can be removed later, but starting clean reduces editing work and produces more natural results.
3. Use Soft Directional Light
Lighting has the largest effect on whether food looks fresh or flat. Soft light from the side or slightly behind the dish reveals texture, shape, steam, gloss, and layers without creating harsh reflections.
A window with indirect daylight is a practical option. Avoid mixing daylight with yellow ceiling lights because the image may develop inconsistent color. When using AI relighting, request soft directional light rather than vague professional lighting.
4. Avoid Direct Flash
Direct phone flash can flatten the food, create hard shadows, produce bright spots on sauces, and make containers look reflective or cheap. Turn off the flash and move the dish closer to a window or use a diffused light source.
AI can soften harsh lighting, but strong blown highlights may contain little recoverable detail. A more balanced source image gives the editor better information.
5. Choose the Angle Based on the Dish
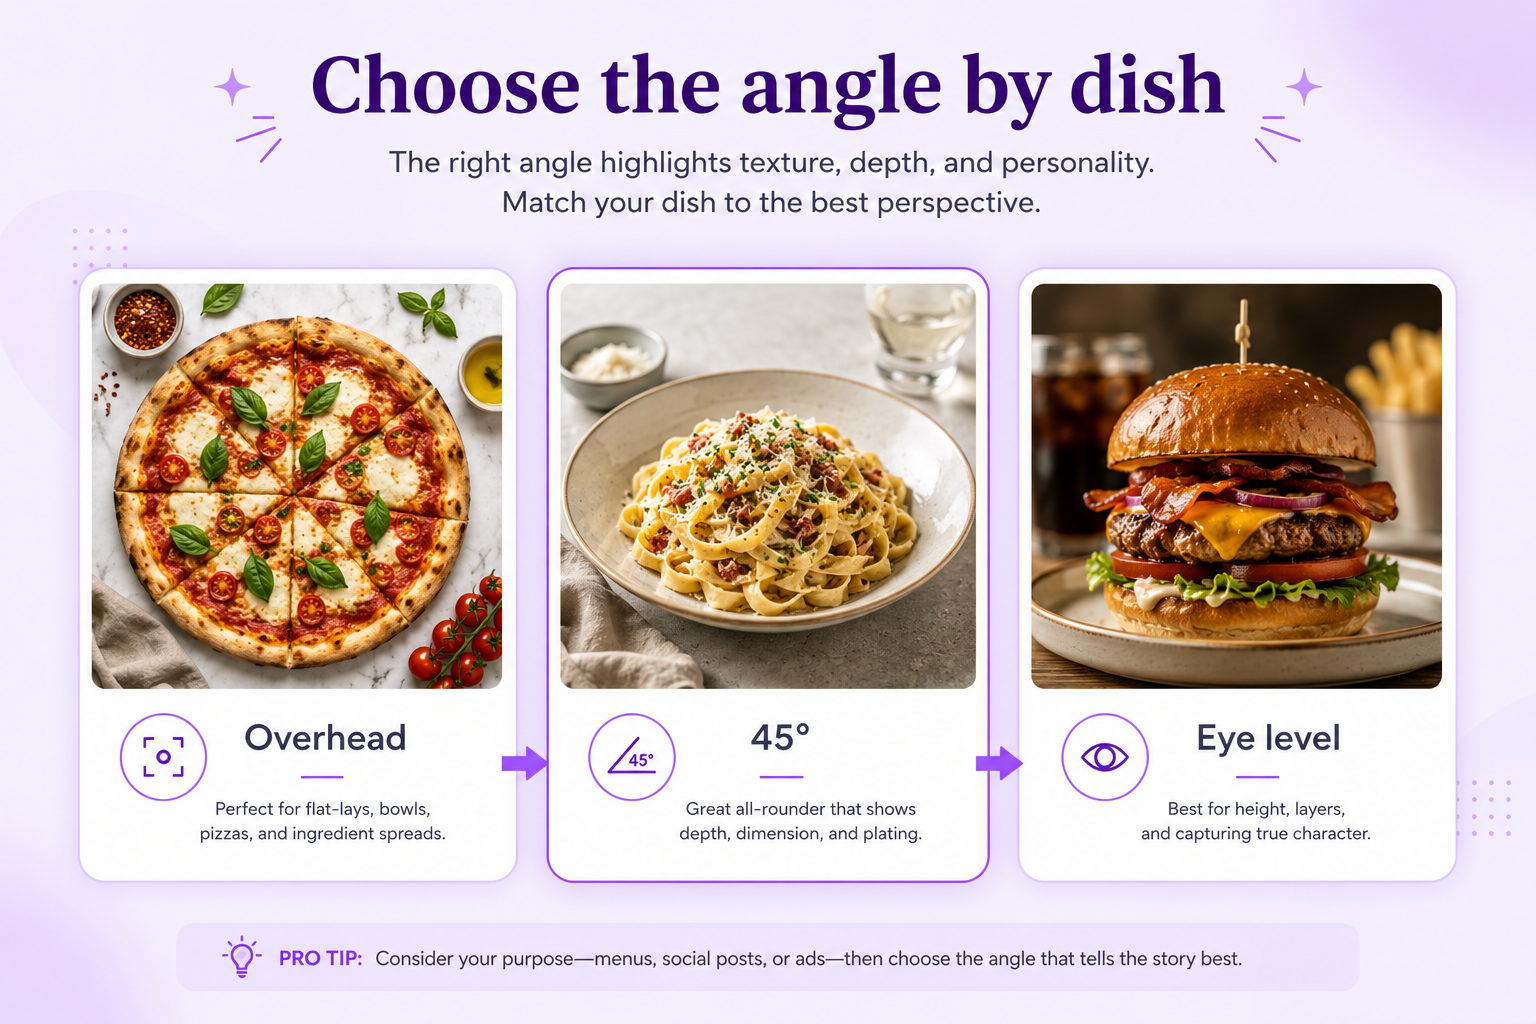
Different foods communicate best from different angles. Flat dishes, pizzas, bowls, table spreads, and decorative plating often work from overhead. Burgers, cakes, drinks, sandwiches, and layered desserts usually benefit from a lower three-quarter or eye-level angle.
Do not force every dish into the same camera angle. Instead, create consistency through background, lighting, crop, and color treatment while choosing the angle that explains each food clearly.
6. Compose for the Final Platform
A delivery-app thumbnail, restaurant website hero, printed menu, Instagram post, and food advertisement do not need the same composition.
For small delivery thumbnails, keep the dish large and immediately recognizable. For social content, include more environment and storytelling. For a banner, position the food to one side and preserve negative space for text.
Tell the AI the final format and use. Instructions such as square delivery-app image, vertical social advertisement, or wide website hero produce more purposeful results.
7. Keep the Main Dish Large Enough
Food should remain the clear focal point. Excessive empty space, large props, busy backgrounds, or wide framing can weaken the image when viewed at thumbnail size.
For menu and delivery images, crop closely enough to show texture and ingredients while keeping the full portion understandable. Avoid cropping important edges, toppings, packaging, or side dishes unintentionally.
8. Use Props to Support the Food
Props should explain context, not compete for attention. A napkin, ingredient, utensil, glass, or small serving element can make an image feel natural.
When asking AI to add props, be specific and restrained. Request subtle wooden cutlery and a folded linen napkin rather than a fully decorated restaurant table. AI often overpopulates scenes when the instruction is too broad.
9. Preserve the Real Ingredients
State which ingredients must remain unchanged. This is particularly important for pizzas, salads, bowls, burgers, desserts, and dishes with visible toppings.
A useful instruction is: Keep the exact dish, visible ingredients, topping arrangement, portion size, plate, and food color recognizable. Change only the background, lighting, and surrounding props.
Review every generation for invented garnishes, removed ingredients, altered sauces, unrealistic melting, or changed packaging.
10. Protect Portion Size and Plating
AI may make a dish appear fuller, taller, wider, or more heavily garnished than the real serving. That may create a more dramatic image, but it can also mislead customers.
Ask the tool to preserve the actual portion size, number of pieces, container dimensions, plate shape, and arrangement. For delivery menus, visual accuracy is more important than exaggerated abundance.
11. Correct Color Without Making Food Artificial
Color correction should make the dish look true to life. Remove unwanted yellow, blue, or green casts while protecting natural browns, creams, reds, and greens.
Avoid extreme saturation. Bright red meat, neon vegetables, orange cheese, or excessively white sauces can make an image look synthetic. Request accurate food color, balanced warmth, and realistic ingredient tones.
12. Add Gloss and Steam Carefully
A subtle highlight on sauce, fruit, chocolate, glaze, or a beverage can communicate freshness. Light steam can make hot food feel immediate.
These effects become unrealistic quickly. Ask for subtle natural moisture or faint realistic steam instead of dramatic splashes, heavy condensation, or thick clouds. The effect should match the actual food and serving temperature.
13. Replace Distracting Backgrounds
A cluttered kitchen, stained table, delivery bag, or unrelated object can reduce the perceived quality of the food. AI background replacement can create a cleaner environment while keeping the real dish.
Good options include warm wood, pale stone, matte neutral surfaces, dark restaurant tables, clean kitchen counters, or simple color gradients. Choose a background that matches the restaurant, cuisine, packaging, and brand.
14. Make Shadows and Contact Look Real
A dish, plate, glass, or package should appear connected to the surface. Missing shadows make the subject look cut out, while incorrect shadow direction makes a composite feel artificial.
Request a soft realistic contact shadow that follows the main lighting direction. For transparent glasses, metal packaging, and glossy sauces, also inspect reflections and edge highlights.
15. Use a Clear AI Food Photography Prompt
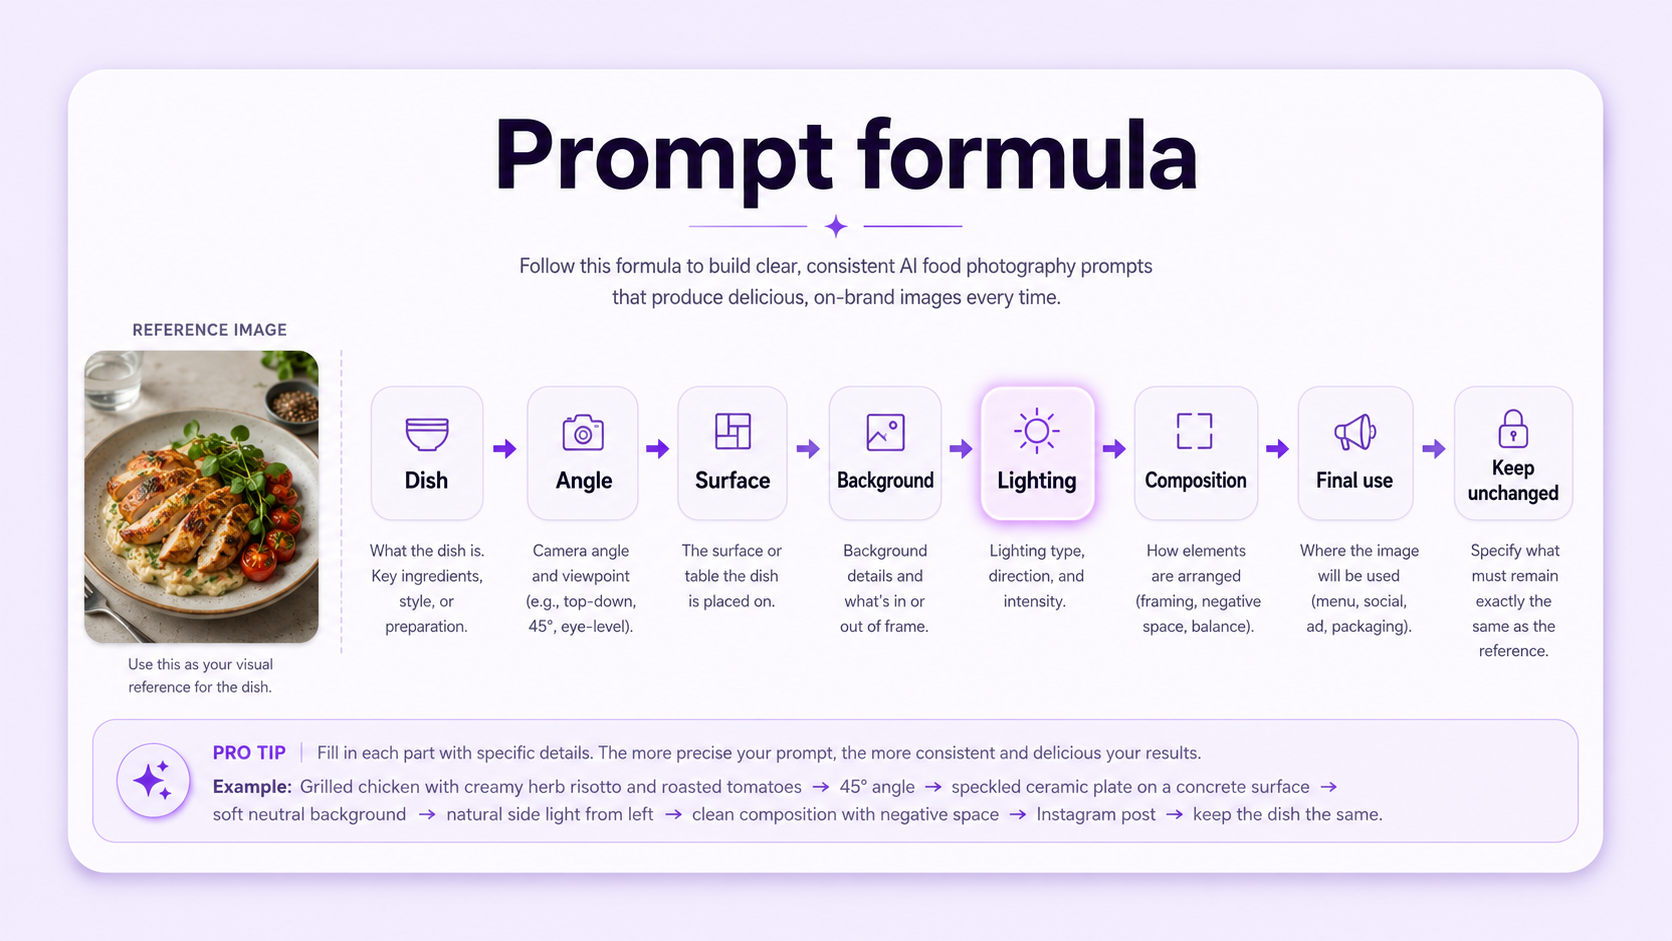
Write the prompt like a food-photography brief. Include the dish, camera angle, surface, background, lighting, composition, visual treatment, final use, and protected details.
Avoid vague instructions such as make it delicious. Translate that goal into visible qualities such as clear texture, fresh ingredient color, soft directional light, realistic moisture, clean plating, and a background that does not distract.
One attractive image is not enough when the remaining menu looks unrelated. Use a consistent background family, lighting direction, crop, shadow style, color treatment, and aspect ratio.
Consistency does not require every dish to use the same angle. A burger can remain eye level while a pizza is overhead, as long as the overall visual language remains coordinated.
Save the prompt, template, and output settings that work. Reusing them reduces visual variation across dozens or hundreds of dishes.
17. Generate Separate Images for Different Channels
Use the same source photo to create channel-specific variations rather than forcing one image into every format.
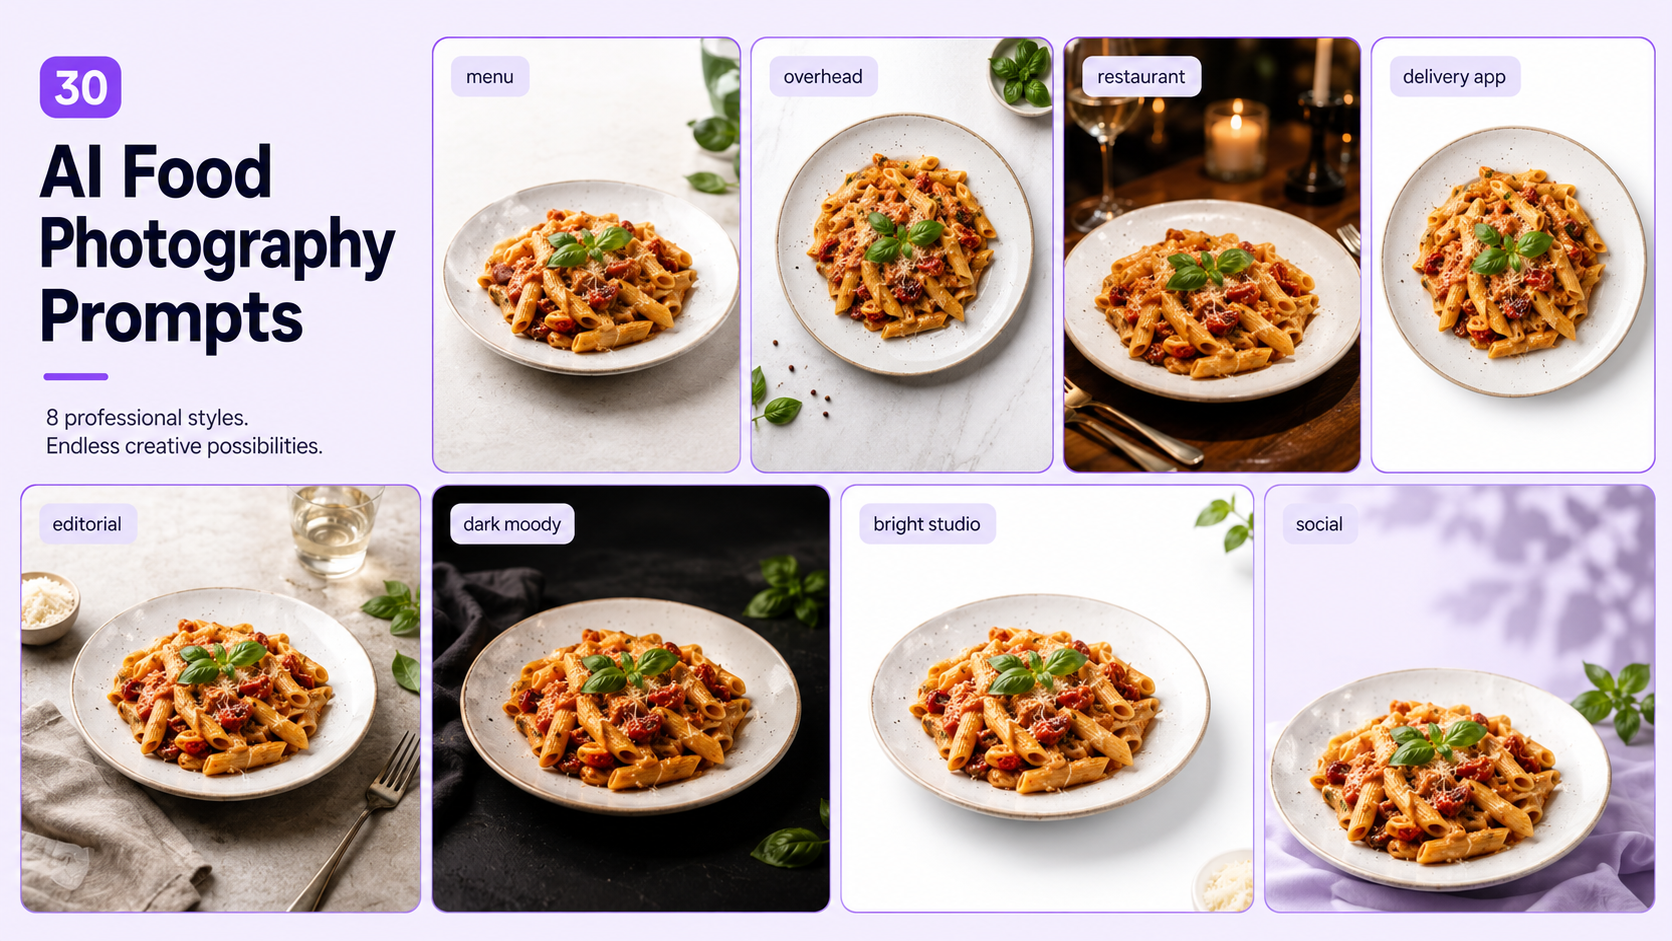
A delivery-app version can use a close crop and simple surface. An Instagram version can include more atmosphere. A homepage image can include negative space. An advertisement can use stronger contrast and campaign styling.
Keep the dish accurate across every version while adapting the environment and composition to the platform.
18. Review Every Image Before Publishing
AI-generated food images require human review. Compare the final image with the original dish and confirm the ingredients, quantity, plating, packaging, and color.
Check for duplicated ingredients, distorted utensils, broken plate edges, impossible shadows, incorrect labels, melted packaging, artificial texture, or food that appears to float.
For menus, ecommerce, and delivery apps, reject any image that could create a false expectation. AI should improve image quality and consistency, not redesign the product being sold.
Best AI Food Photography Use Cases
AI can clean backgrounds, correct color, improve lighting, standardize framing, and adapt real dish photos to digital or printed menus. The dish and portion should remain faithful to what the restaurant serves.
Delivery-App Food Photography
Delivery images need strong thumbnail readability. Use simple backgrounds, close framing, clear ingredient visibility, and consistent square or platform-specific crops.
Packaged Food and Beverage Products
Food brands can use AI to place a real package, bottle, jar, can, or box in ecommerce packshots, ingredient-led scenes, lifestyle images, and advertisements. Packaging text, logos, flavors, size, and product color require careful preservation.
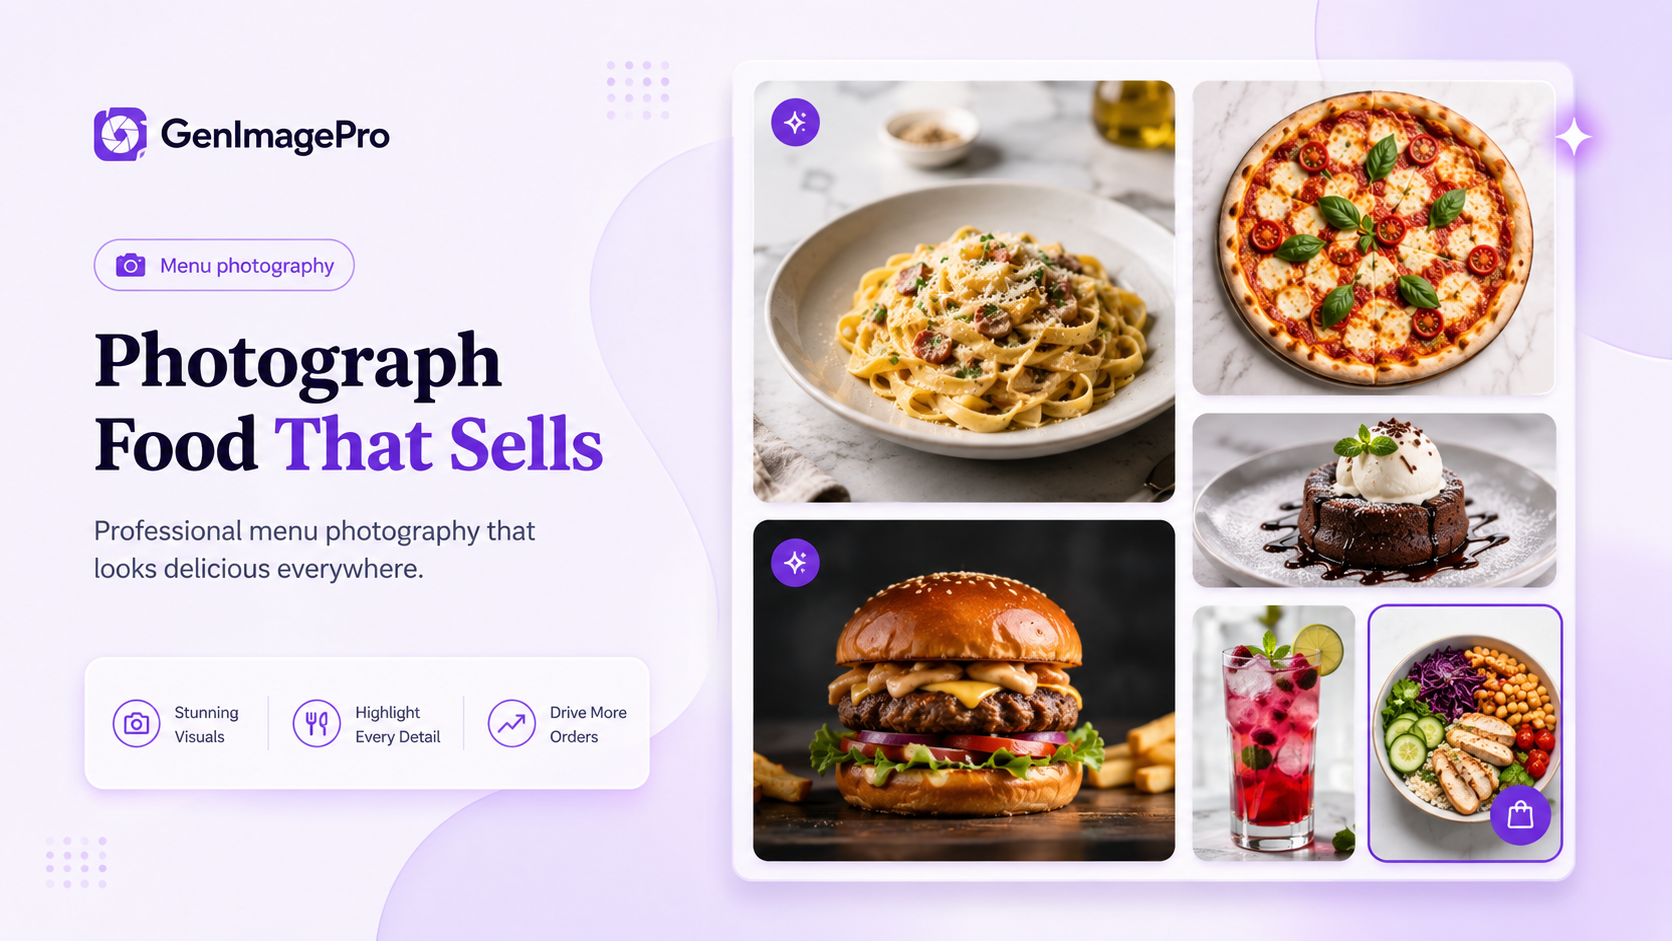
Social images can use richer environments, hands, serving moments, seasonal props, or more expressive lighting. Create separate versions for vertical posts, stories, square ads, and wide banners.
Common AI Food Photography Mistakes
The first mistake is making the food look more artificial than the original. Excessive saturation, gloss, steam, garnish, or dramatic lighting can reduce trust.
The second is allowing AI to invent or remove ingredients. Always include preservation instructions and compare the output with the actual dish.
The third is treating every channel the same. A delivery thumbnail and restaurant campaign have different visual requirements.
The fourth is improving individual images without building menu-wide consistency. Define a repeatable visual system before processing a large catalog.
Final Recommendation
The strongest AI food photography workflow starts with a clear photo of the real dish, then uses AI to improve lighting, background, composition, color, and consistency.
Keep the transformation honest. Preserve the ingredients, portion size, plating, packaging, and product identity. Generate multiple variations, inspect the details, and select the image that looks appetizing without creating a false representation.
AI food photo enhancers provide templates for users who want to transform existing dish or product photos without building every edit from scratch. Upload the real image, choose a visual direction, and create menu, delivery, ecommerce, advertising, and social variations from one workflow.
FAQ
What is AI food photography?
AI food photography uses generative image tools or AI photo editors to create, transform, or improve images of dishes, beverages, and packaged food products.
How can AI improve food photos?
AI can improve lighting, color, backgrounds, composition, shadows, image quality, cropping, and consistency while using the original food photo as a reference.
What is the best lighting for food photography?
Soft directional light from the side or slightly behind the food usually reveals texture and shape well. Indirect window light or a diffused studio light is a practical choice.
Can AI food photos be used on restaurant menus?
Yes, when the final image accurately represents the dish. Ingredients, portion size, plating, container, and product details should be reviewed before publishing.
How do I write an AI food photography prompt?
Describe the dish, camera angle, surface, background, lighting, composition, final use, and details that must remain unchanged.
Can AI create delivery-app food images?
Yes. AI can create consistent, close-cropped, platform-ready versions from real dish photos. The food and portion should remain accurate.
Should AI add ingredients to food photos?
Not when the image represents a real menu item. Additional ingredients or larger portions may mislead customers. Preserve the actual dish.
Does GenImagePro require food photography prompts?
Not always. GenImagePro uses a template-first workflow, allowing users to upload a food image and choose a ready-made visual direction.
Social Media and Advertising