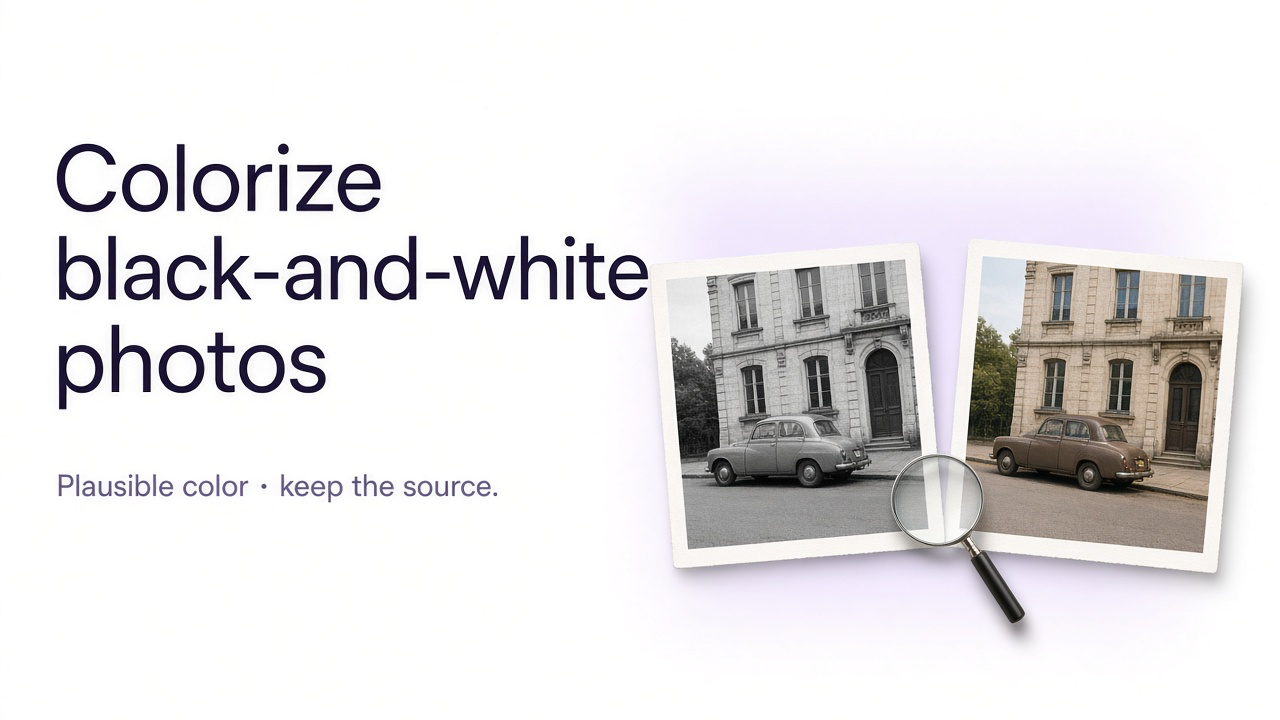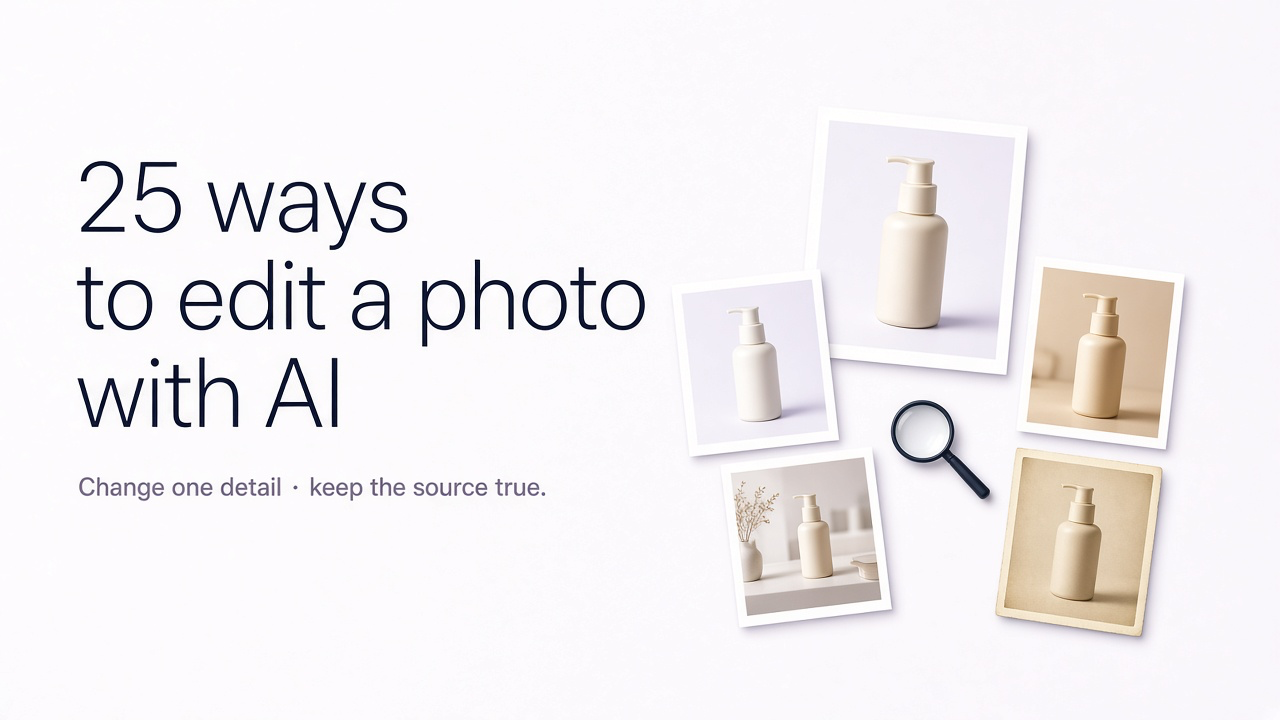
Image-to-image AI lets you generate a new image from an existing photo instead of starting from a blank prompt. You upload a product shot, portrait, room, sketch, food photo, car image, or another visual, then describe how the result should change.
The original image acts as a visual reference. It can guide the subject, composition, pose, colors, camera angle, lighting, or overall structure. Your prompt or selected template provides the new direction, such as replacing the background, changing the style, redesigning the room, creating a professional product scene, or turning a casual photo into a polished commercial image.
This workflow is sometimes called image-to-image generation, an AI image generator from image, photo-to-photo AI, reference-image generation, or img2img. The wording varies, but the goal is the same: use a photo you already have to create a controlled new version.
This guide explains how to use image-to-image AI step by step, how to write better instructions, how to preserve important details, and how to apply the workflow to practical tasks such as ecommerce, portraits, interiors, advertising, and social content.
What Is Image-to-Image AI?
Image-to-image AI is a form of generative image technology that uses an existing image as part of the input. Instead of relying only on text, the generator receives visual information from the uploaded image and uses it to guide the output.
The source image can provide several kinds of guidance. A product photo may establish the real bottle shape and camera angle. A portrait may provide the face, hairstyle, pose, and clothing. A room photo may define the walls, windows, floor plan, and perspective. A sketch may provide the basic composition before the AI converts it into a realistic or stylized result.
The amount of change depends on the tool, model, prompt, template, and available reference controls. Some image-to-image generators stay close to the original structure. Others use the upload more loosely and create a broader interpretation.
Image-to-Image AI vs. Text-to-Image
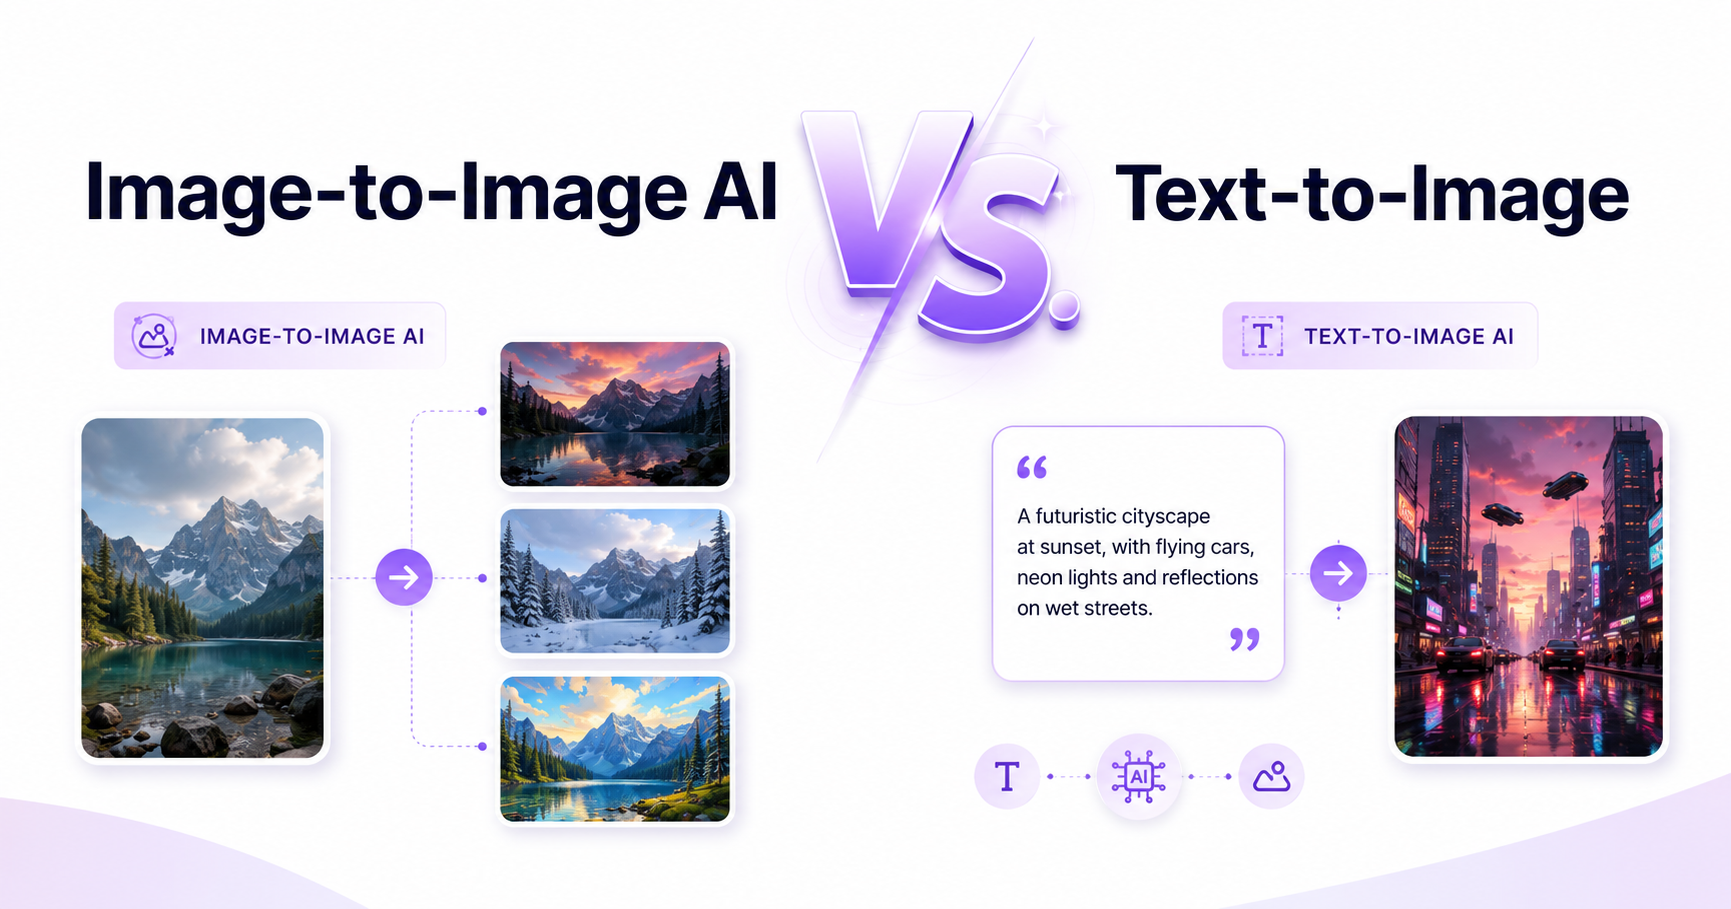
Text-to-image generation begins with a written description. The model creates the subject, composition, environment, lighting, and style from scratch. This is useful when you want open-ended exploration or do not have an existing image.
Image-to-image generation begins with visual information. It is usually more practical when you already have a specific person, product, room, pose, layout, or design that should influence the result. It gives the AI more context, but it does not guarantee that every original detail will remain unchanged.
What Can You Do with an AI Image Generator from Image?
An AI image generator from image can support both simple edits and complete visual transformations. The most useful applications begin with a clear source image and a specific outcome.
You can turn a plain product photo into a studio image, create lifestyle backgrounds, redesign an empty room, restyle a portrait, change clothing or makeup, transform food snapshots into restaurant-style visuals, generate advertising variations, convert sketches into polished renders, or adapt one photo to several campaigns.
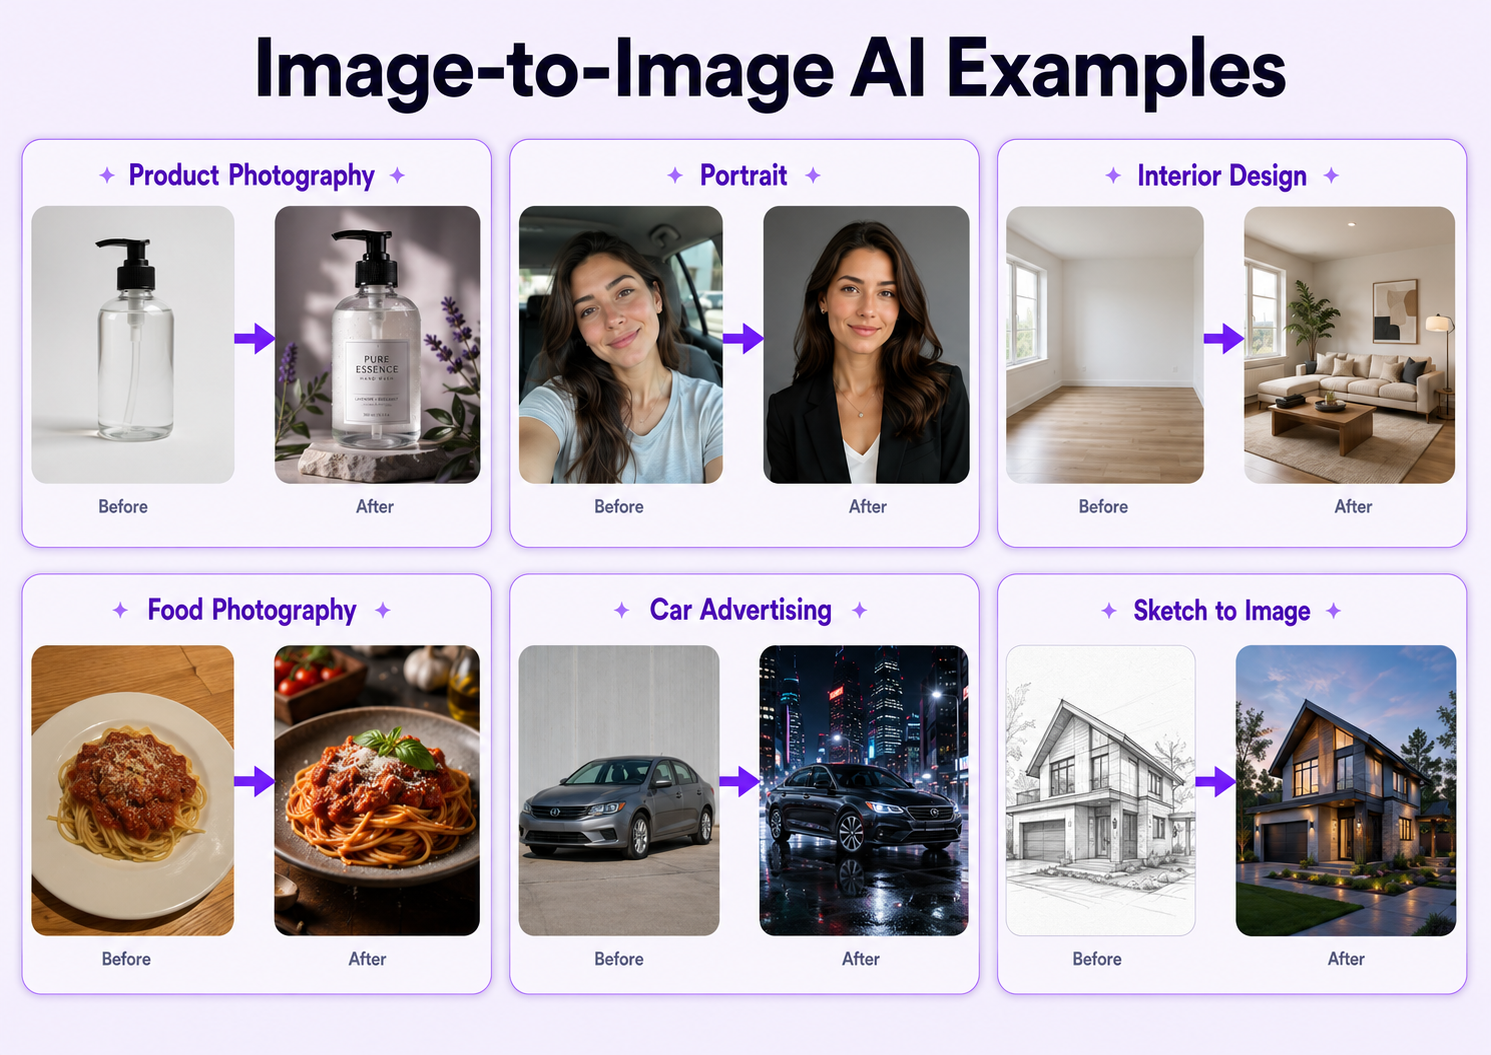
Common Image-to-Image AI Use Cases
Product photography is one of the strongest use cases. A seller can upload a basic product shot and create white-background listing images, premium studio scenes, seasonal campaigns, social advertisements, and lifestyle settings without arranging a separate photoshoot for every variation.
Portrait transformation is another common workflow. A casual photo can become a professional headshot, editorial portrait, themed character image, or style variation. For portraits, facial identity, skin texture, hair, clothing, and hands require careful review.
Interior and real estate images can also be transformed. An empty room can be furnished, an outdated space can be redesigned, or one room can be shown in several interior styles. The source image helps preserve the architecture and camera perspective.
Other useful cases include food photography, car advertising, fashion variations, beauty edits, travel images, sketch-to-image generation, background replacement, and creating multiple formats from a single visual.
How to Use Image-to-Image AI
1. Choose a Clear Source Image
Start with the strongest source image available. The subject should be clearly visible, reasonably sharp, and large enough for the AI to understand important details.
For a product photo, keep the entire product inside the frame and avoid extreme reflections or overlapping objects. For a portrait, use an image where the face is visible and not heavily blurred. For a room, show enough of the architecture to establish the layout and perspective.
Image-to-image AI can improve or transform a photo, but a poor upload gives the model less reliable information. A clear source image usually produces more consistent results than a heavily compressed, cropped, dark, or obstructed image.
2. Decide What Should Change
Before uploading the image, define the transformation. Avoid beginning with a vague goal such as make this better. Decide whether you want a new background, different lighting, another visual style, a redesigned environment, a more professional composition, or a complete scene transformation.
It also helps to define the final use. A marketplace listing, homepage hero, Instagram post, Pinterest pin, restaurant menu, professional profile, and paid advertisement require different compositions.
3. Decide What Must Stay the Same
Preservation instructions are as important as transformation instructions. Clearly identify the details that must remain unchanged.
For products, this may include the shape, label, logo placement, cap, material, color, proportions, and camera angle. For portraits, it may include facial identity, hairstyle, skin tone, clothing, accessories, and pose. For interiors, it may include walls, windows, flooring, doors, perspective, and room dimensions.
Image-to-image models may reinterpret details even when the overall output looks convincing. Explicit preservation instructions reduce drift, but every generated result still needs inspection.
4. Upload the Image
Upload the source image to an image-to-image AI generator. Depending on the platform, you may begin from a dedicated image-to-image tool, an AI photo editor, a reference-image control, or an upload field inside a conversational interface.
GenImagePro uses a template-first workflow. You upload an image, choose a template that matches the desired outcome, and generate new variations. This is useful when you prefer a guided direction over writing a long prompt from scratch.
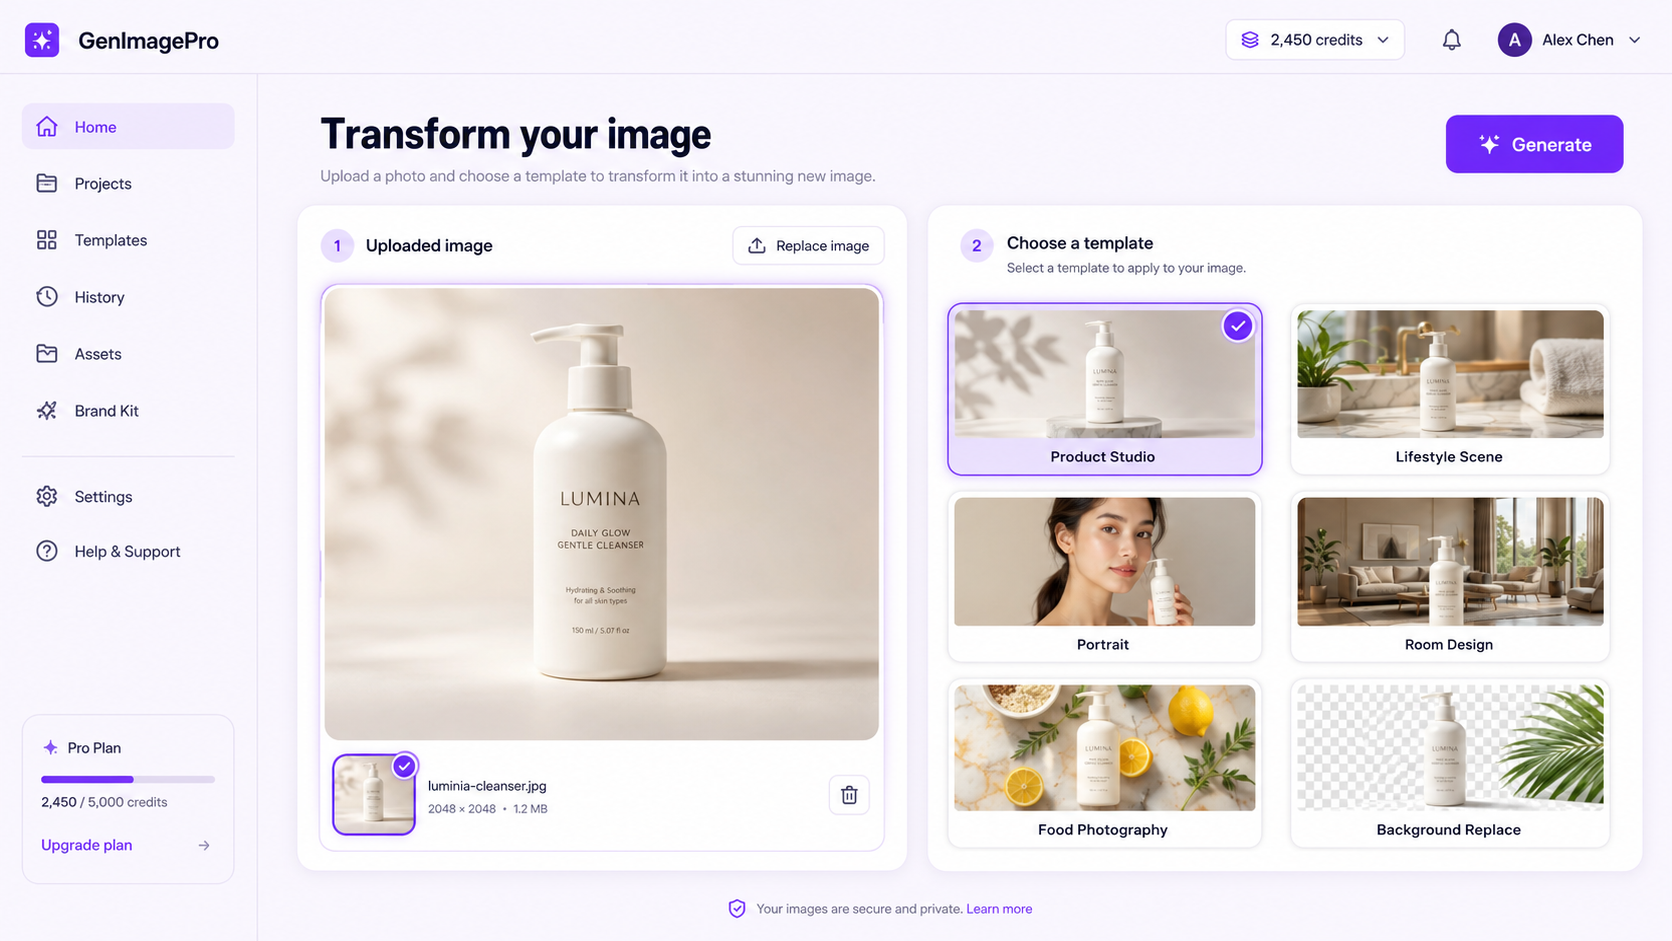
5. Select a Template or Write a Prompt
Some platforms depend mainly on prompts. Others provide presets or templates for common transformations. Templates are useful when the intended result already belongs to a recognizable category, such as product photography, portrait retouching, room design, food photography, or background replacement.
A prompt gives more specific direction. The most reliable image-to-image prompts explain the subject, requested transformation, environment, lighting, visual style, output purpose, and protected details.
6. Generate Multiple Variations
Do not rely on one output. Generate several variations using the same source image and instruction. Even when the prompt is identical, each result can differ in composition, detail preservation, lighting, and realism.
Compare the results according to the actual use case. A visually dramatic image is not automatically the best option. For ecommerce, product accuracy and believable lighting may matter more than creativity. For an advertisement, composition and attention value may matter more.
7. Inspect the Details
Zoom in before publishing. Check the parts of the image that generative tools commonly change or distort.
Inspect faces, eyes, hands, hair, teeth, jewelry, text, logos, labels, product edges, reflections, fabric patterns, architecture, shadows, and repeated objects. A result can look convincing at thumbnail size while containing errors that become obvious on a product page or large display.
8. Refine One Problem at a Time
When a result is close but not correct, refine one issue at a time. For example, first preserve the product shape, then improve the background, then adjust the shadows. Asking for many unrelated corrections in one instruction can create new problems.
If the tool allows follow-up editing, describe the exact issue. Instead of saying fix the image, say keep the bottle unchanged and replace only the background, or preserve the face and hair while changing the clothing.
A Practical Image-to-Image Prompt Formula
A strong prompt can be built from six parts: the source subject, the transformation, the environment, the lighting, the visual treatment, and the details that must remain unchanged.
Product Photography Prompt Example
Transform this basic skincare product photo into a premium ecommerce hero image on warm beige stone, with soft morning light, realistic contact shadows, a minimal cream background, and subtle botanical details. Keep the bottle shape, white label, black cap, logo placement, proportions, camera angle, and product color unchanged.
Portrait Prompt Example
Transform this casual portrait into a clean professional headshot with a neutral studio background, soft directional lighting, realistic skin texture, and a polished editorial finish. Keep the same person, facial features, hairstyle, skin tone, eye color, and natural expression unchanged.
Interior Design Prompt Example
Redesign this empty living room in a warm modern style with a neutral sofa, natural wood furniture, textured fabrics, soft daylight, and minimal décor. Keep the walls, windows, floor, doors, room dimensions, camera angle, and architectural perspective unchanged.
Food Photography Prompt Example
Transform this casual food photo into a professional restaurant menu image with appetizing natural light, realistic texture, balanced color, a clean tabletop, and subtle depth of field. Keep the actual dish, ingredients, portion size, plate shape, and food arrangement recognizable.
How to Preserve the Original Person or Product
Preserving identity and product accuracy is one of the hardest parts of image-to-image generation. The model may understand the overall subject while changing small features.
Use a clear source image, keep the important subject large in the frame, and list the fixed details directly in the prompt. When available, use subject-reference, character-reference, composition-reference, or reference-strength controls.
Avoid requesting an extreme transformation when exact preservation is essential. A subtle background and lighting change is usually easier to control than a complete change of pose, camera angle, environment, clothing, and style at the same time.
For commercial product imagery, compare the generated output with the original source. Confirm that customers would receive the product shown in the image. AI should improve presentation without creating misleading product features.
How to Get More Consistent Results
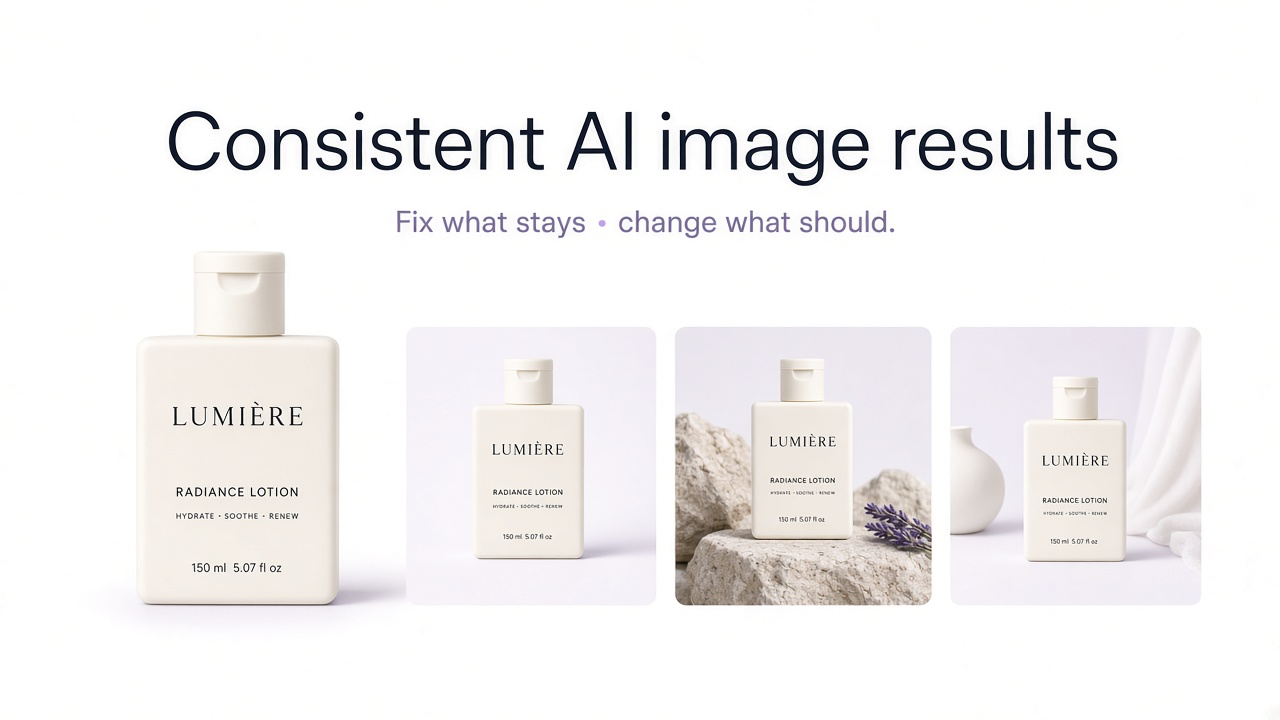
Consistency begins with consistent inputs. Use source images with similar framing, resolution, lighting, and product scale when generating a collection.
Reuse the same template or prompt structure, but change only the details required for each image. Keep the visual language stable by repeating the same background family, lighting direction, camera treatment, spacing, and brand mood.
For a product catalog, define a repeatable rule such as centered subject, neutral studio background, soft shadow, consistent margin, and fixed aspect ratio. For social campaigns, define a second rule with more environmental context, stronger color, and space for text.
Save successful prompts and templates. A reliable image-to-image workflow should become easier to repeat rather than requiring a new creative process for every image.
Common Image-to-Image AI Mistakes
Using a Weak Source Image
A blurry, tiny, dark, heavily compressed, or partially hidden subject gives the model less accurate visual information. Improve the source image before attempting a major transformation.
Using Vague Instructions
Requests such as make it professional or make it beautiful leave too much open to interpretation. Describe the environment, lighting, composition, style, and final purpose.
Changing Too Many Things at Once
A prompt that changes the subject, pose, clothing, background, lighting, camera angle, and style simultaneously increases the risk of losing important details. Break complex transformations into stages.
Ignoring Accuracy
Do not judge only the overall visual impact. Review the information the image communicates. Product colors, labels, facial identity, room architecture, clothing patterns, and food ingredients may be commercially important.
Using the Same Image Everywhere
A product listing, social advertisement, homepage hero, email campaign, and Pinterest post should not always use the same composition. The advantage of an image-to-image generator is that one source can become several channel-specific visuals.
Best Source Images for Image-to-Image AI
The best source image depends on the transformation, but several qualities generally help: clear subject visibility, useful resolution, accurate colors, manageable shadows, limited obstruction, and enough surrounding space for the requested change.
For products, a simple background often makes it easier to preserve the item. For portraits, avoid extreme facial angles if identity consistency is essential. For interiors, include walls, openings, and floor boundaries. For sketches, use clean lines and a readable composition.
When Should You Use Image-to-Image AI?
Use image-to-image AI when you already have a useful starting asset but need a different presentation. It is especially effective when the subject should remain recognizable while the environment, mood, lighting, or style changes.
Use text-to-image instead when you want to explore ideas without a fixed source. Use traditional photo editing when precise pixel-level correction is more important than generation. In many professional workflows, the best result combines image-to-image generation with final manual review or retouching.
Final Recommendation
The most effective image-to-image workflow is simple: begin with a clear source image, define the transformation, state what must remain unchanged, generate several variations, inspect the details, and refine one issue at a time.
GenImagePro is designed for users who want to generate AI images from existing photos through ready-made visual templates. It is particularly useful for product photography, portraits, food, real estate, beauty, cars, backgrounds, and other practical image transformations.
The technology is most valuable when it reduces production work without removing judgment from the process. Treat each generation as a draft, compare it with the source, and choose the result that best balances transformation, realism, and accuracy.
FAQ
How do I generate an AI image from an existing image?
Upload a clear source image to an image-to-image AI generator, choose a template or describe the desired transformation, state which details must remain unchanged, generate several variations, and inspect the results before publishing.
What is an AI image generator from image?
An AI image generator from image uses an uploaded photo, sketch, product shot, portrait, or other visual as guidance for a new generated image. The source can influence the subject, structure, composition, pose, colors, or style.
What is the difference between image-to-image and text-to-image?
Text-to-image generates a visual from a written description. Image-to-image begins with an existing image, giving the AI visual information about the subject, composition, or style.
How do I keep the same person in an AI-generated image?
Use a clear portrait, state that facial identity and key features must remain unchanged, avoid requesting too many major changes at once, and use identity or character-reference controls when available.
Can image-to-image AI preserve product details?
It can preserve many details, but accuracy is not guaranteed. Check the product shape, label, logo, material, color, proportions, text, and packaging after every generation.
What makes a good image-to-image prompt?
A good prompt explains the source subject, requested transformation, environment, lighting, style, final purpose, and the details that must remain unchanged.
Can I use image-to-image AI for ecommerce?
Yes. It can create listing images, lifestyle scenes, seasonal visuals, advertisements, and social content from existing product photos. The final image should accurately represent the real product.
Do I need a prompt to use image-to-image AI?
Not always. Some tools rely on written prompts, while GenImagePro uses a template-first workflow that lets users start from a predefined visual direction.