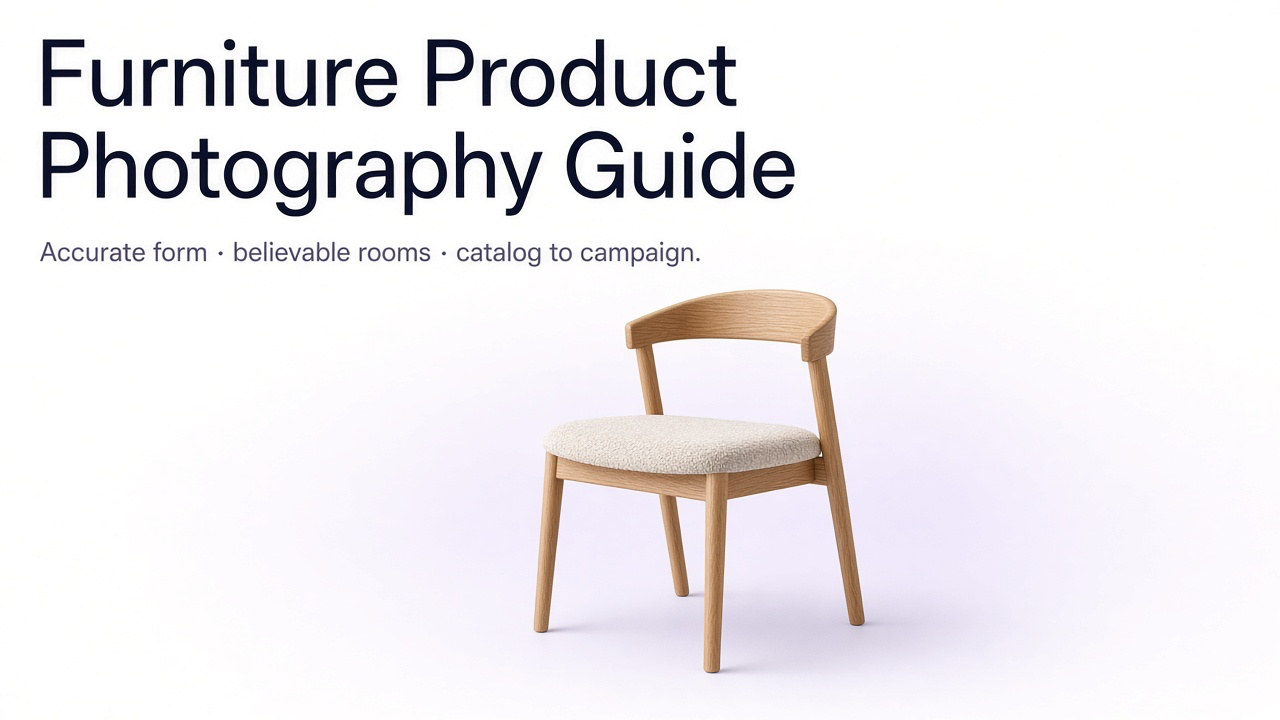
Furniture is harder than small-product photography. A chair or sofa occupies space, interacts with the room, and has to communicate scale, material quality, and silhouette at once. One image is rarely enough for ecommerce—and every new physical set is expensive.
The practical approach: capture one honest master, build the catalog views you need, then expand room and campaign directions carefully. For general gallery jobs beyond furniture, see product photography types for ecommerce.
What a good furniture photo must show
Non-negotiables
Accurate proportions
No stretched depth from an extreme wide lens.
Believable materials
Wood grain, fabric weave, leather, metal, glass, and stone should look physical.
Clear construction
Legs, seams, handles, joints, and edges stay visible.
Useful scale
Shoppers can judge size against a real room or familiar object.
Product hierarchy
The furniture stays the subject even in a styled interior.
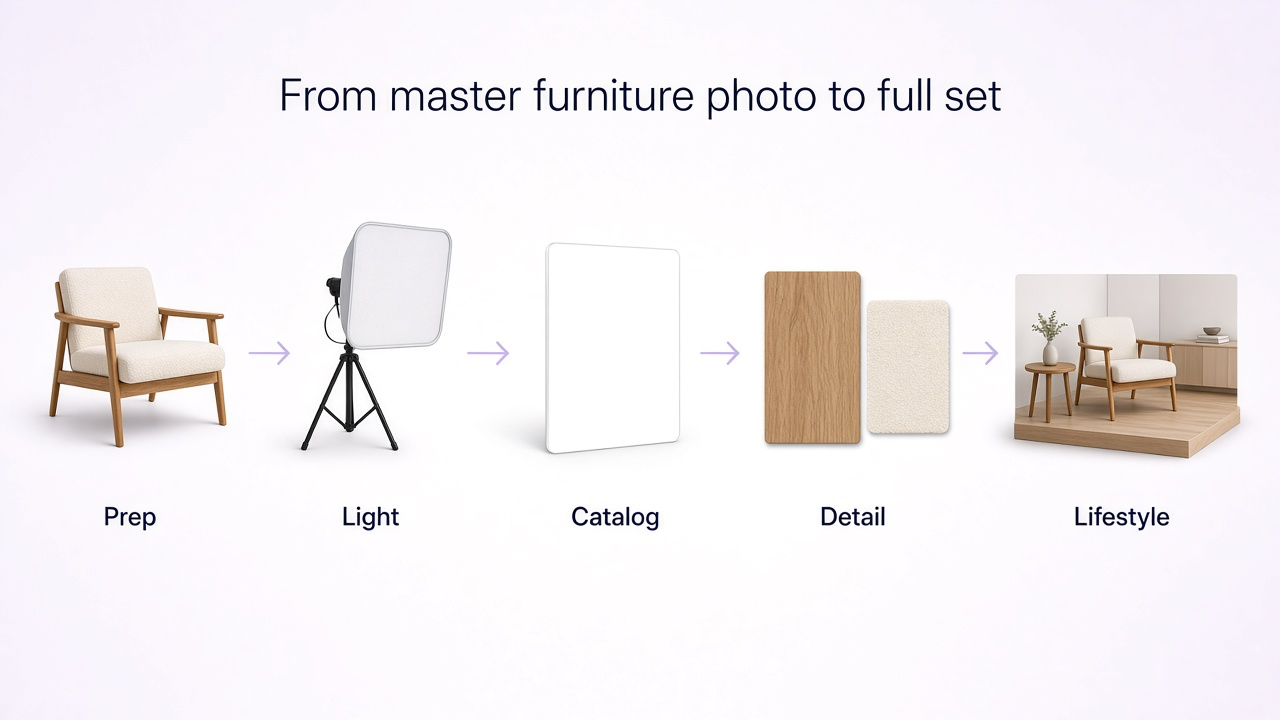
A basic ecommerce workflow
From prep to publish
Prepare the piece
Clean surfaces, straighten cushions and seams, set movable parts correctly.
Choose a quiet environment
Studio, seamless, or a restrained interior that does not compete.
Light softly and directionally
Large soft sources reveal form and texture without harsh hotspots.
Keep perspective natural
Camera height and distance that do not stretch or shrink the piece.
Shoot the views you need
Hero, supporting angles, material details, then a scale-aware lifestyle frame.
Check accuracy
Color, texture, proportions, hardware, and stitching before publishing.
Angles, perspective, and light
A three-quarter view is usually the strongest hero because it shows front, side, and depth together. Straight front views suit cabinets and shelving. Side profiles help chairs and sofas. Detail close-ups sell finish and craftsmanship. Wide lifestyle frames are for scale and context—not for replacing a clear product-first shot.
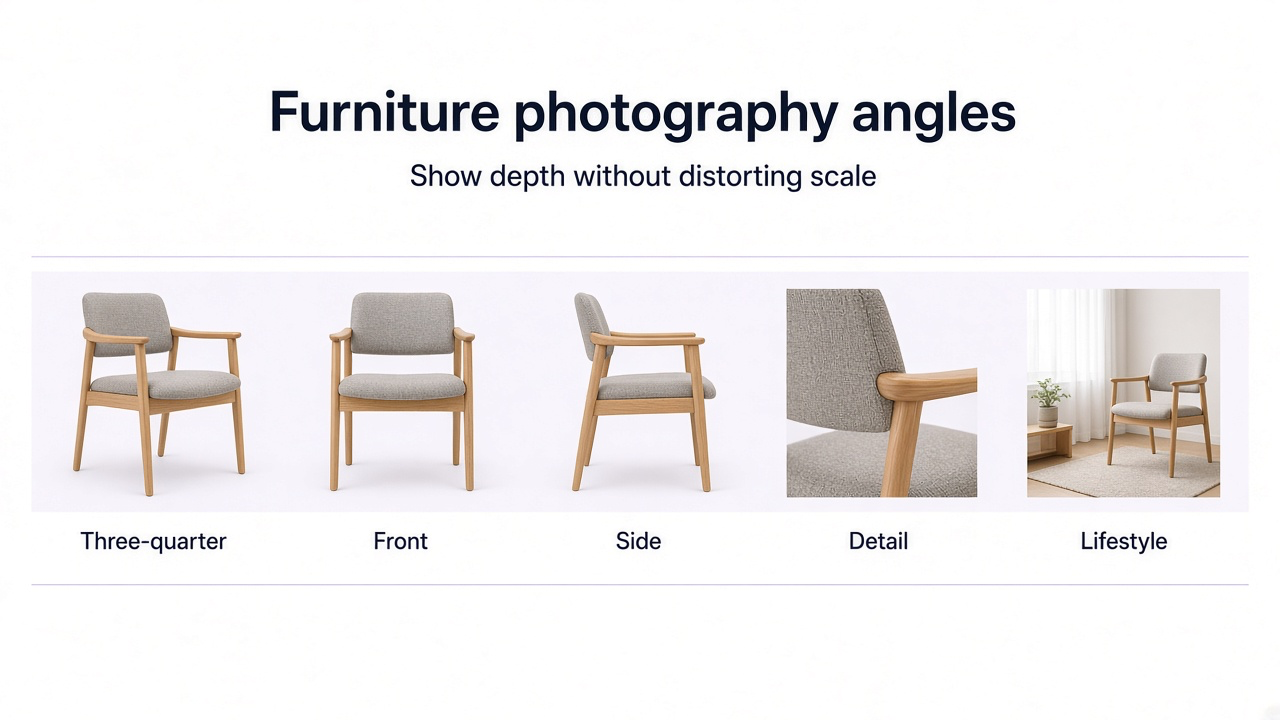
Standing very close with a wide lens makes nearby parts look oversized. Move back and use a more natural focal length. Keep verticals straight on cabinets, wardrobes, and shelves. Soft directional light beats hard spots on wood, lacquer, leather, and metal—and beats flat light that kills form.
Materials, catalog backgrounds, and room scenes
Furniture buyers are often buying texture as much as shape. Protect wood grain and tone, fabric weave and seams, leather grain and stitching, metal finish, glass edges, and stone pattern. Common failures: orange wood, plastic leather highlights, over-smoothed upholstery, and repeated AI veining.
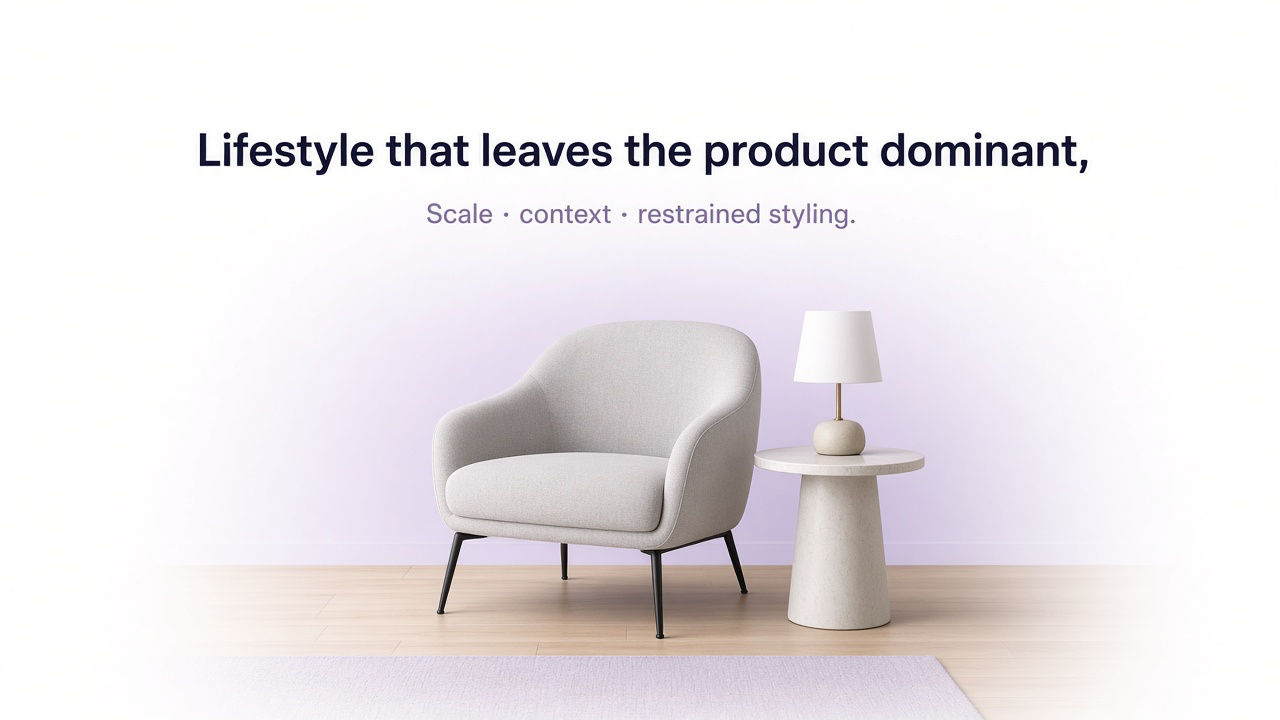
Catalog images usually want a simple white, off-white, or pale studio field with a subtle floor plane and contact shadow so the piece stays grounded. Lifestyle rooms should explain scale and style with few props—rug, side table, lamp, restrained art. If the room gets noticed before the product, styling is doing too much.
What to emphasize by product
| Product | Prioritize | Useful context |
|---|---|---|
| Chair | Seat, back profile, legs, upholstery; three-quarter + side | Dining, desk, reading corner |
| Sofa | Depth, arms, cushions, fabric; careful perspective | Living room with real scale |
| Table | Top shape, edge, legs; avoid near-edge stretch | Dining or living room seating context |
| Cabinet / storage | Straight verticals; closed exterior + doors/drawers/hardware | Living, bedroom, hallway |
| Bed | Headboard, frame, upholstery, overall scale | Bedroom |
| Lamp | Shade, materials, silhouette; lit and unlit if relevant | Side table, desk, reading area |
Detail shots still matter: edge finish, weave, stitching, hardware, joints, stone pattern, drawer interiors. Shoot the features a wide hero cannot prove.
Expand rooms from one accurate master
Moving sofas and tables between locations for every campaign is slow. A hybrid workflow works better: photograph the real piece once, then generate additional interiors around that reference. In GenImagePro, upload a clean source that shows shape, materials, legs, and edges clearly. Ask for the room style and lighting you need, and state what must not change—proportions, upholstery, color, hardware, stitching.
Practical AI-assisted workflow
Upload a true master
Full piece visible, honest materials, natural perspective.
Pick the goal
Clean catalog, lifestyle room, editorial interior, or ad crop.
Lock the product
Preserve shape, materials, color, legs, hardware, and construction.
Describe the room
Style, surfaces, daylight, props, negative space—keep the piece dominant.
Check scale and fidelity
Compare against the original before any listing goes live.
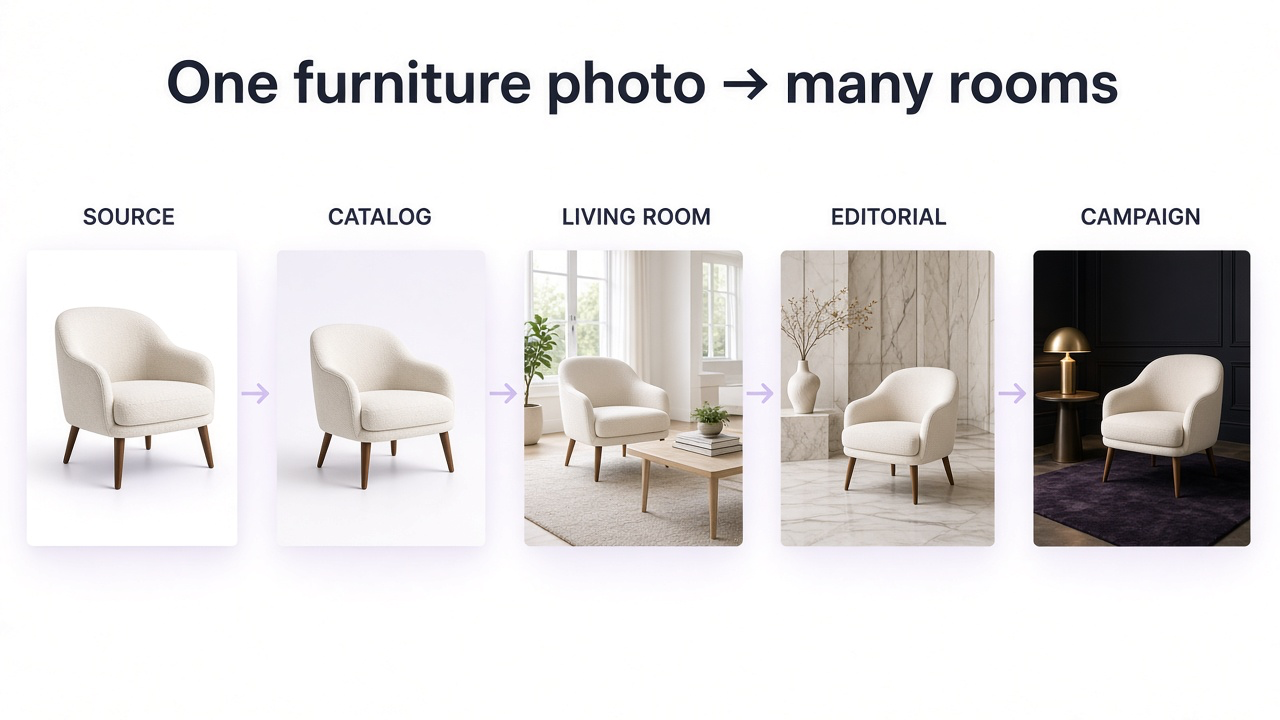
Useful room directions from the same master: clean studio catalog, modern living room, bright Scandinavian interior, soft lived-in lifestyle, or a darker editorial space with enough light on the materials. For broader interior prompt ideas, see home decor product photography prompts and lifestyle product photography guide.
Mistakes that cost returns
What to avoid
- Extreme wide lenses that distort proportions
- Camera height that makes pieces look unnaturally tall, short, or deep
- Props that hide legs, arms, handles, or construction
- Over-styled rooms that bury the product
- Mixed color temperatures that shift material color
- Missing contact shadows that make pieces float
- AI rooms with wrong scale or redesigned details
Before you publish
Perspective and verticals look natural
Lighting reveals shape and material
Colors match the actual furniture
Hero shows overall design; details prove craft
Lifestyle image communicates believable scale
Background does not compete with the product
AI scenes were checked against the real piece
Frequently Asked Questions
What is the best way to photograph furniture?
Use a natural perspective, soft directional light, a quiet environment, and multiple views. A three-quarter angle is often the strongest hero because it shows width, depth, and overall shape.
What background works best?
For catalog photography, white, off-white, or light neutral studio backgrounds. For lifestyle, a realistic interior that supports the furniture without competing with it.
Can GenImagePro place furniture in a different room?
Yes. Upload a clear photo of the real piece and describe the interior—style, materials, lighting, architecture, and props—while locking product fidelity. Always verify scale and details before publishing.
Can AI replace a furniture photoshoot completely?
Not when exact physical truth is the priority. Capture the furniture accurately once, then use GenImagePro to expand rooms and campaigns from that master.
Which images should a furniture PDP include?
A hero view, supporting angles as needed, material or construction details, and at least one lifestyle image that communicates scale.