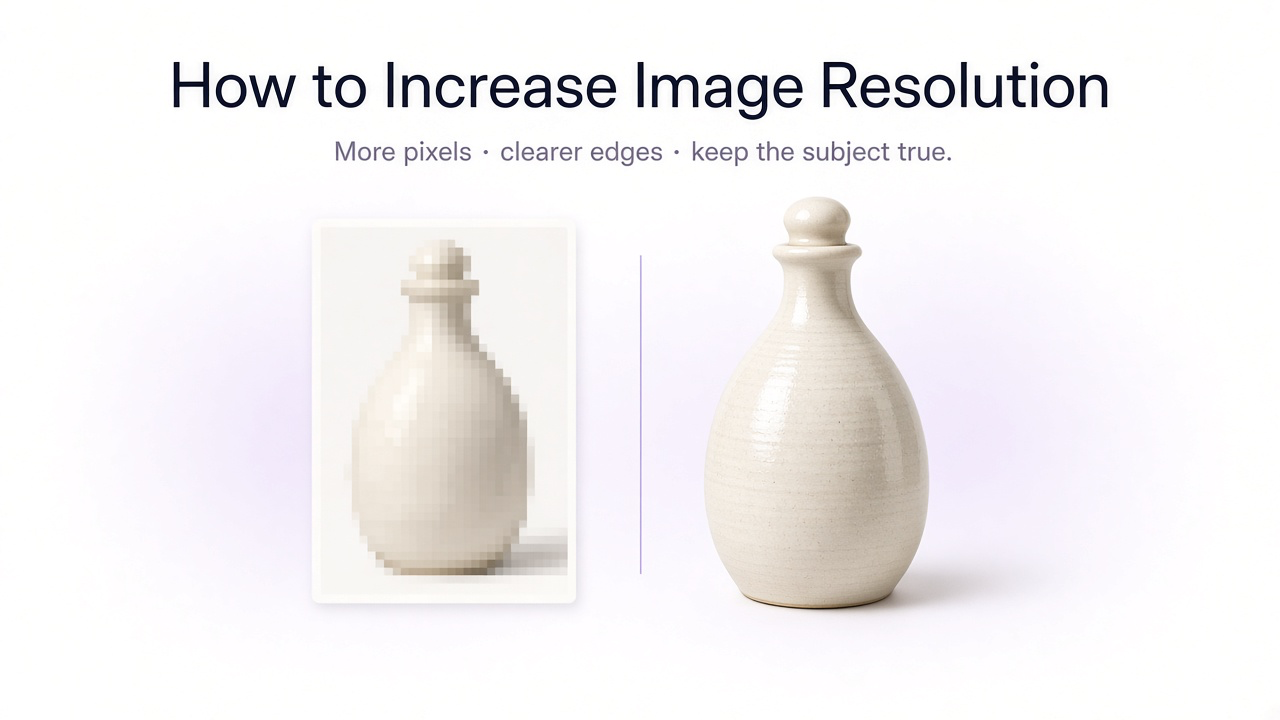
“Make it higher resolution” usually means one of two things: create more pixels, or make the image look sharper when those pixels are displayed or printed. Stretching a small file to larger dimensions without recovering detail just shows the same softness at a bigger size.
If the photo is mainly soft or out of focus rather than merely small, you may also need deblurring—see how to make a blurry picture clear. For aged scans and damage, start with restore old photos with AI.
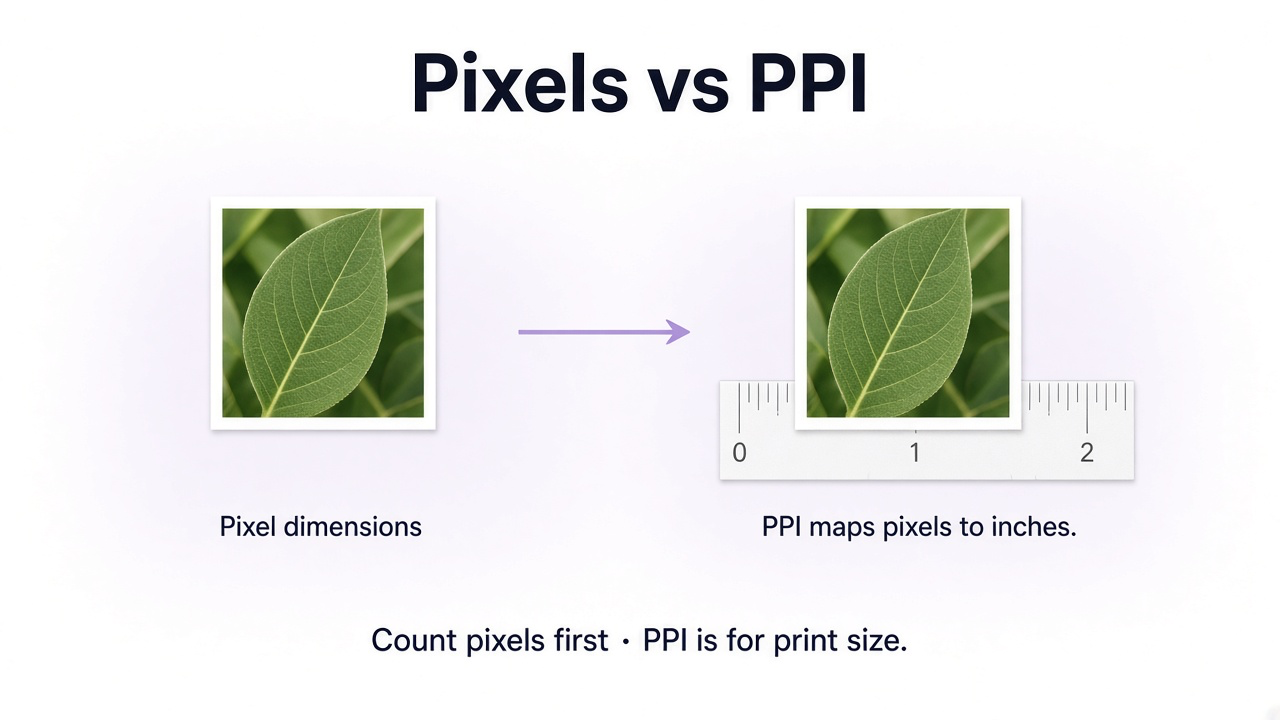
Pixels vs PPI
For digital files, the useful measure is pixel dimensions (width × height). A 3000 × 2000 image has six million pixels; a 1500 × 1000 image has 1.5 million. PPI (pixels per inch) describes how those pixels are assigned to a physical print size. Changing only the PPI metadata without resampling does not invent detail.
AI upscaling vs traditional resizing
Traditional upsampling estimates new pixels from neighbors (interpolation). The file gets larger; complex missing detail usually does not return. Sharpening only boosts edge contrast—it does not recreate texture that was never there.
AI upscaling enlarges while reconstructing plausible edges, textures, and structures from learned patterns. Results are often cleaner for portraits, products, cropped frames, and soft scans—but reconstructed detail is inferred. Text, faces, labels, and historical facts still need a human check against the original.
| Method | What it does | Limitation |
|---|---|---|
| Basic resize | Changes pixel dimensions | Softness becomes more obvious |
| Interpolation | Estimates new pixels from neighbors | Cannot invent complex missing detail |
| Sharpening | Raises local edge contrast | Easy to create halos; no new source detail |
| AI upscaling | Enlarges and reconstructs plausible detail | Inferred detail can look convincing without being exact |
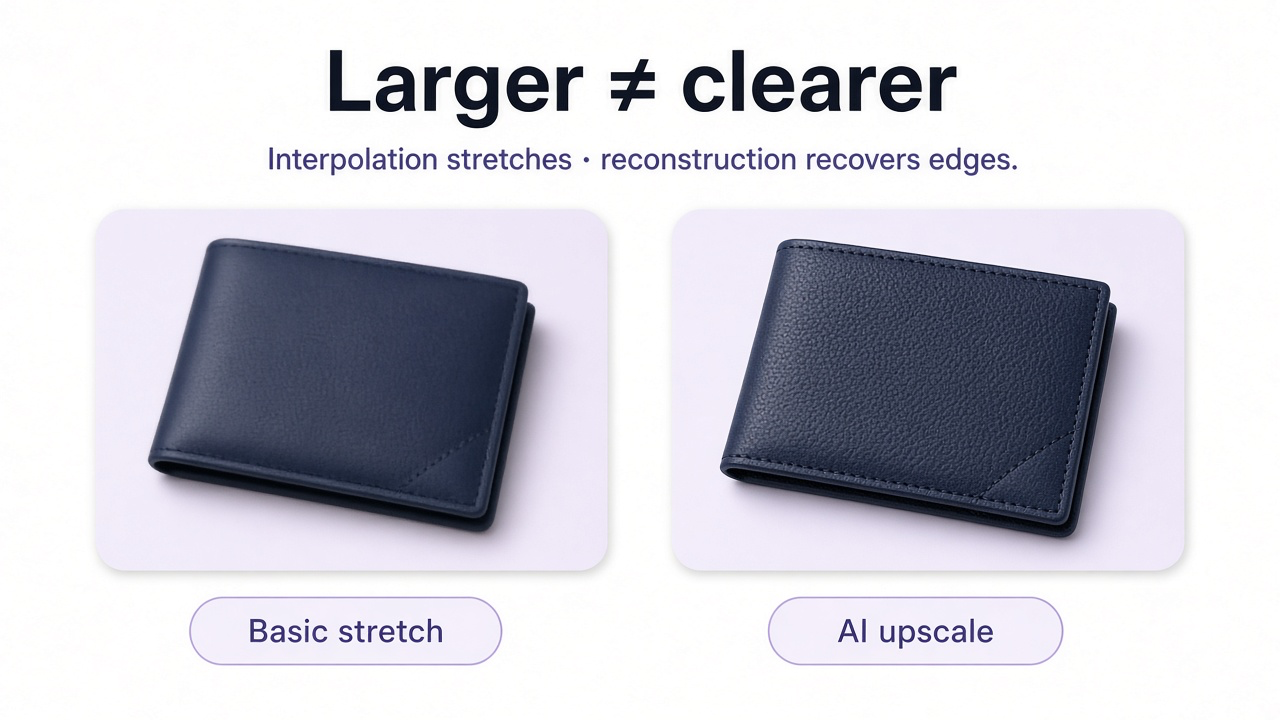
Why enlarged images still look soft
More pixels cannot fix every source problem. Out-of-focus capture, motion blur, heavy JPEG damage, extreme small size, noise, and repeated resize–recompress cycles all leave little real information to enlarge. In those cases pair upscaling with deblurring, denoising, or restoration—not resize alone.
How to increase resolution in GenImagePro
Practical workflow
Upload the best source
Prefer the original over a screenshot, social download, or already-resized JPEG.
Ask for clearer high resolution
Request more pixel detail and cleaner edges while preserving subject, color, and composition.
Inspect at 100%
Check faces, text, labels, hair, fabric, packaging, and any area where invented detail would matter.
Refine locally if needed
Target a soft or artificial region instead of reprocessing the whole image repeatedly.
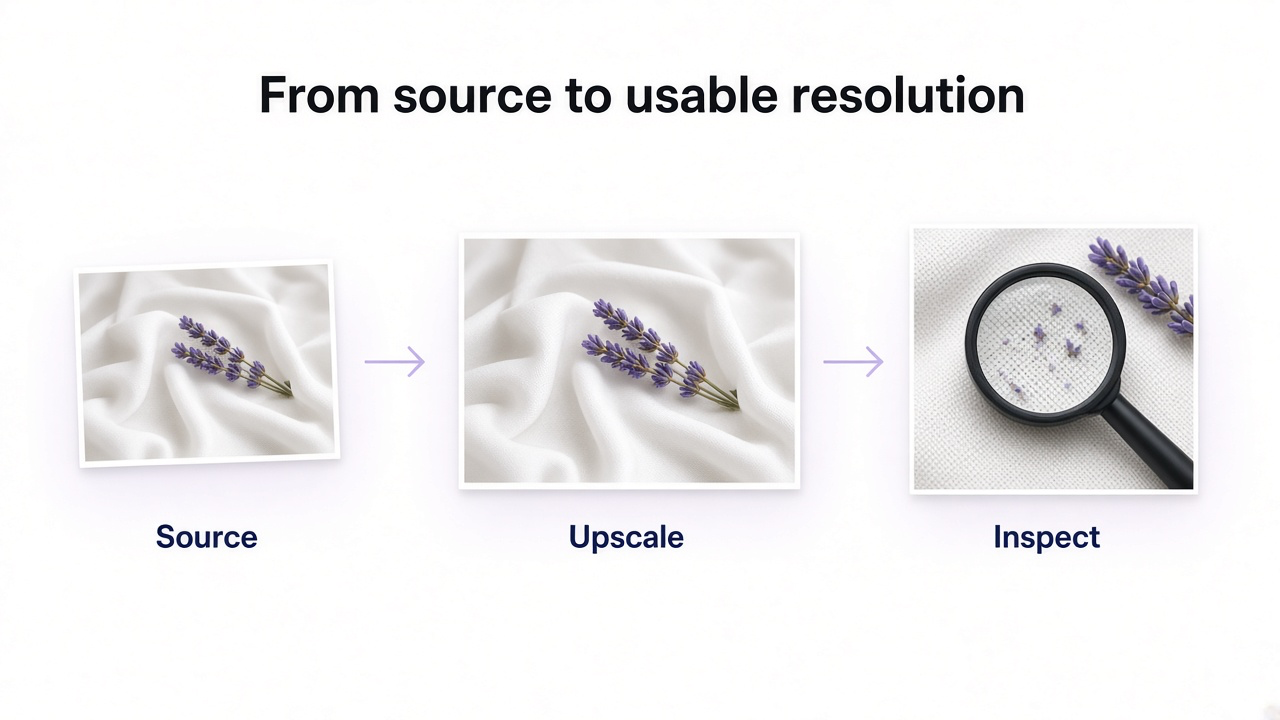
Faces and product images need tighter constraints
Faces can gain plausible detail that subtly shifts identity. Products can gain sharper edges that quietly change a label, seam, or finish. Lock what must not change before you upscale.
Print, web, and how far to upscale
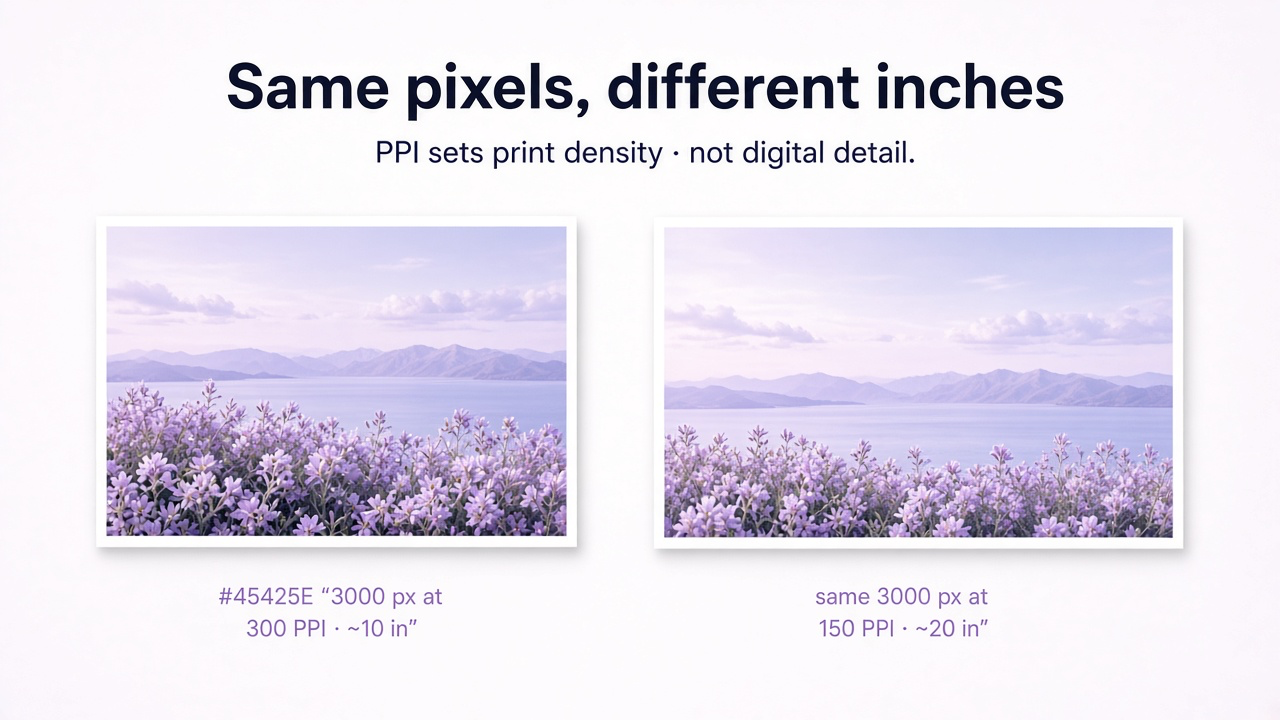
Print is where PPI earns its keep. The same pixel width becomes a smaller, denser print at 300 PPI or a larger, sparser print at 150 PPI. Example: 3000 px wide ≈ 10 inches at 300 PPI, or 20 inches at 150 PPI. Those are math relationships—not a guarantee of “print quality.” Viewing distance and content still matter.
For websites, more pixels are not always better. Generate enough resolution for display and zoom, then serve responsive sizes so page weight stays sane. Do not upscale every asset to the largest possible file “just in case.”
| Use case | What matters |
|---|---|
| Web / thumbnail | Enough pixels for display size without excess weight |
| Ecommerce zoom | Enough resolution to inspect real product detail |
| Social | Platform display size with crop room |
| Large print | Pixel width relative to intended inches and viewing distance |
| Restoration | Preserve original information before extreme enlargement |
Before you publish
Started from the best available original
Increased pixel dimensions—not only the PPI tag
Did not repeatedly re-save the same JPEG through resize loops
Upscale distance matches the real use case
Faces, text, labels, and product details checked at full size
No heavy sharpening halos or plastic texture
Web delivery uses appropriate responsive sizes
Frequently Asked Questions
How do I increase the resolution of an image?
Increase pixel dimensions with resampling or AI upscaling. Start from the highest-quality source and inspect important details after the enlarge step.
Does changing 72 DPI to 300 DPI improve quality?
Not by itself. Without resampling, the pixel count stays the same. You only change how those pixels map to print inches.
What is the difference between PPI and DPI?
PPI is image pixels per inch. DPI is printer dots per inch. Related in print workflows; not interchangeable measures of the digital file.
Can AI increase resolution without losing quality?
AI upscaling often preserves or improves perceived clarity better than basic stretch. It cannot perfectly recover information that was never in the source.
Why is my image still blurry after upscaling?
Focus, motion blur, compression, noise, or an extremely small source may be the real limit. Pair upscaling with deblurring or restoration when needed.
How much should I upscale?
Only as far as the output needs—web display, ecommerce zoom, social crop, or print size. Larger files are not automatically more useful.
Can GenImagePro increase image resolution?
Yes. Upload the image and ask for a clearer high-resolution version while stating what must stay unchanged—identity, product design, text, or composition.